
Game 3 - Invade
Adam Storey - Undead
- Horde of Revenants with Fire-Oil, Undead Giant Rats
- Horde of Revenants with Brew of Strength, Undead Giant Rats
- Horde of Wights with Mead of Madness
- Horde of Wights with Brew of Sharpness
- Horde of Zombie Trolls
- Troop of Wraiths
- Troop of Wraiths
- Cursed Pharaoh with Wings of Honeymaze
- Mhorgoth the Mandatory
- Necromancer with Inspiring Talisman, Drain Life, Surge
I was a bit worried that I was heading for the wrong end of the tournament after 2 wins. I knew I was due for a correction. Well...

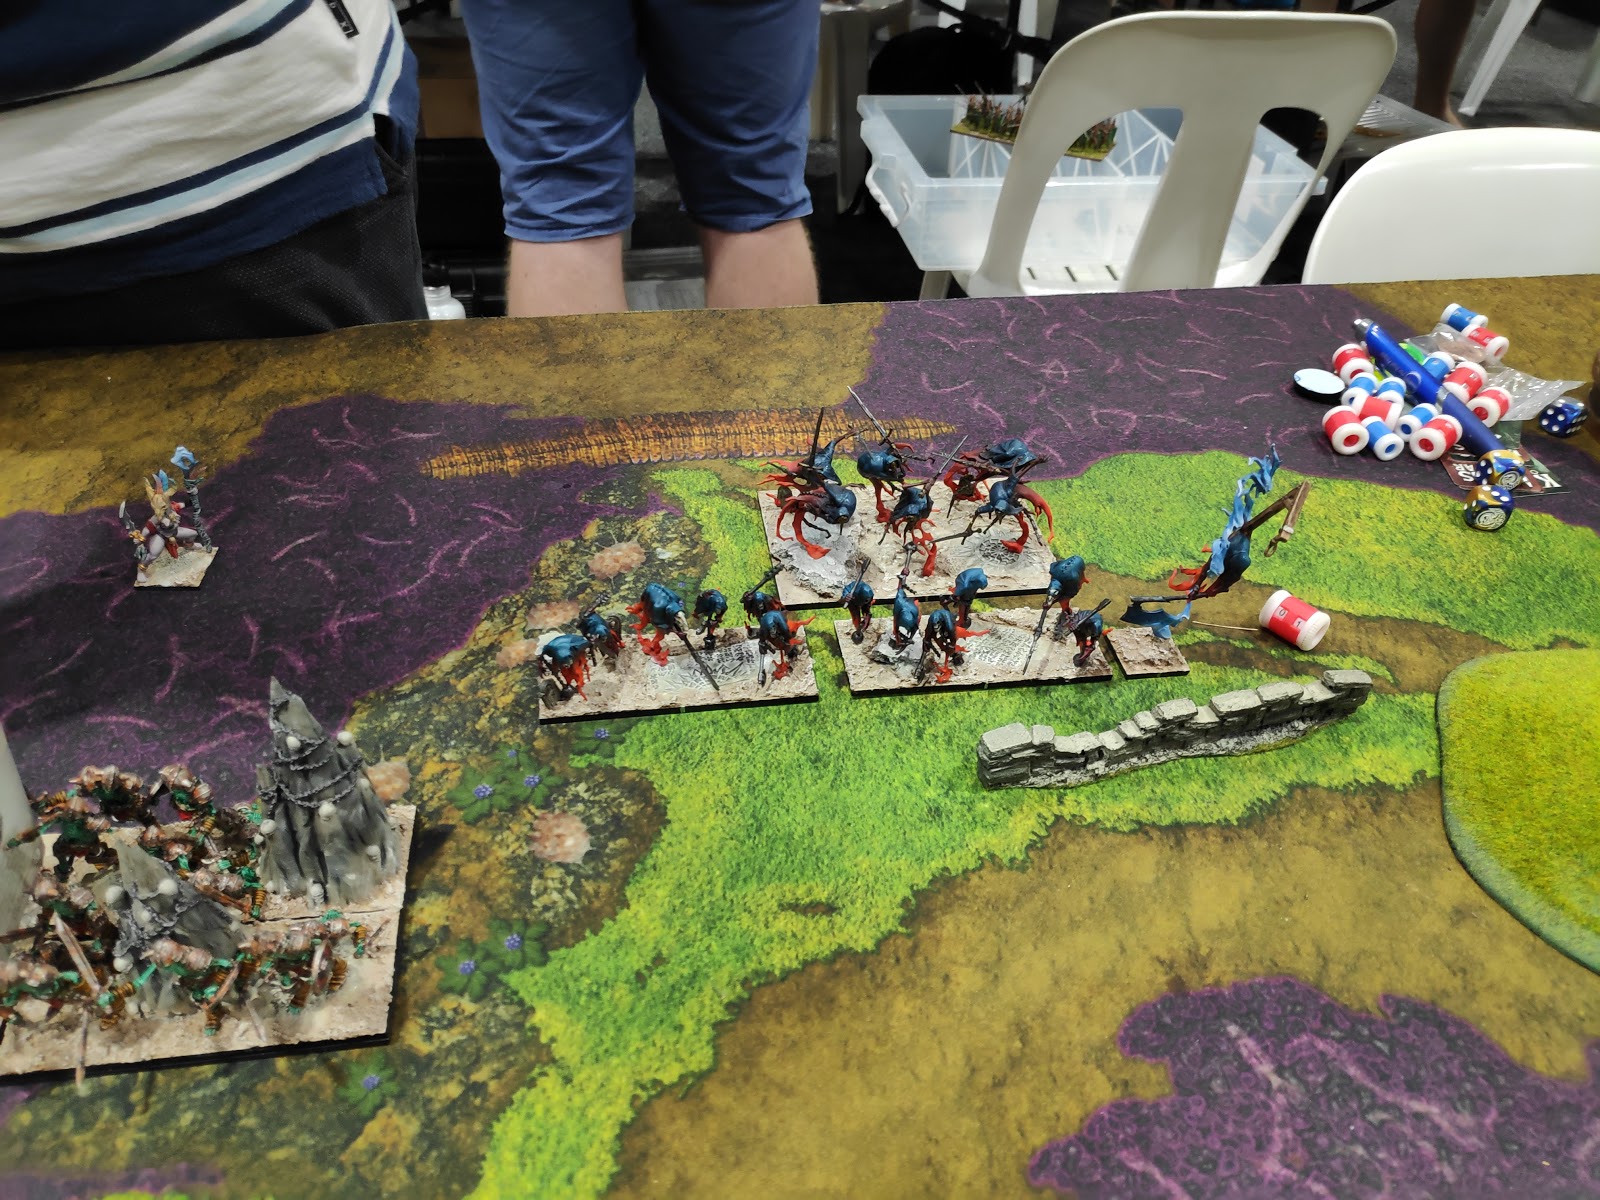
These things (the Zombie Trolls) were just gross. A lot of Adam's models are 3D printed, and he'd managed to complete these ones with bloody streaks as they dragged themselves across the ground... Eww. Anyway, they were hard on my left flank. Next to them were the Revenants, and behind them sat one of the Wight units.

Mhorgoth is right behind the nearest of the Revenants. The dude nobody wants to sit next to is the Necromancer.
This is what I was looking at over to my right a bit (really in the centre of the field). The Pharaoh is on the right, next to the Wraith units, with the other Wights sitting behind them. This flank bothered me. It was fast (though not necessarily quicker than my stuff), and hard to contain thanks to everything flying.

I was outmuscled on the left. That's 4 hordes facing my 3 units (unless you count the Mammoth lurking more toward the centre).

Anyway, if there was so much stuff on my left, why was I worried about my right? I should have this under control. I won the roll-off for first turn, and bravely gave Adam first go. It was the polite thing to do. And it meant I didn't have to make all the decisions straight up. Hopefully he'd give me something to work with.

He really didn't give me anything at all to work with. He played things tight, advancing a tiny amount and if anything, condensing his lines even more than he had during deployment. Nothing came within charge range for me, and nothing was over-extended. How boring.

The Pharaoh was the only one breaking ranks, and he only did it by edging sideways.

On the left, the hordes were refusing to even leave the safety of the difficult terrain. Or maybe they were stuck. You know, being a gross Troll torso dragging itself along the ground is probably hard enough on the open fields...

Having demonstrated that he was boring and sensible and not going to make the first move, it was obviously up to me. I lack patience. And caution. And a willingness to play tight or force a potential stand-offish draw. So it took me all of 1 turn to turn the whole thing into a weird gamble. What you're seeing here is essentially a puzzle I set up for Adam to try to work out. If he could figure out how to engage and block everything in order to avoid nasty counter-charges, then I guess he gets the upper hand. If not, things were going to charge him. The birb went up hard before pivoting, to try to give me the whole centre of the field to work with and threaten flanks. Multiple units had enough speed to get to him if he needed to be rescued or avenged. I made a potential mistake in turning the Mammoth toward the left of the forest. Given I was forcing matters over on the right, I should have kept as many tools in the area as possible.

I was more sensible on the left, however I still moved my units into charge range to give me options next turn.

Adam spent several minutes working out how to address the situation on the right. I found this encouraging. Maybe he couldn't crack it. And if he decided he couldn't, I would surely have the advantage.

Eventually, he decided to pull the trigger and engage. The Wights hit the birb without assistance from the Pharaoh, he went right over my front lines to hit the Knights in the second row. Wraiths must have just been in range of the Honour Guard, and the other unit went to lengths to avoid charging my Knights in the flank. They didn't charge. Instead they moved up normally, and let Mhorgoth push them into the front with Surge. So everything over there was engaged except the Baron, who was going to have to climb over a fence to get involved...

What was I expecting? I'm not sure, but I was hoping the birb could survive a round of combat. The Wights rolled solidly for both damage and nerve, and he vanished in a cloud of feathers and fur. Honestly this was not all that unlikely. Given he had Brutal and very solid stats, he was likely to be needing about Nerve 6 with a re-roll. More to the point, most of what I could have sent in to help the birb had been successfully engaged (without having taken too much damage), meaning I might not have been able to rescue the birb even if he'd weathered the storm.

Meanwhile, all was quiet on the western front... I should have sent the Mammoth the other way. I could even have flown the other birb across, but I think then that might have prompted Adam to advance instead of sitting back contentedly. Anyway, the Mammoth in particular feels like a tactical blunder. He could have done more elsewhere.

What... Why is this photo upside-down? Google, what are you doing to me? Aaaanyway, I had some options in my turn with the Baron, but that was about it. I considered sending him into the Wights, but he would not have achieved much alone. Instead I put him in with the Knights as they joined my wave of counter-charges in the area.

This is what running out of patience looks like. I knew the right was going poorly, and I knew Adam wasn't going to move over here. I had some decent-looking charges and decided I had to gamble if I was to have any chance of getting back into the game. Mammoth and Honour Guard into one of the Revenant hordes, birb and Knights into the Zombie Trolls. The terrain meant most of my stuff was hindered, making it more of a gamble. Basically I was playing uphill. I was the one that needed stuff to happen, and he had the solid defensive position.

Unfortunately, over on the right nothing was working the way I needed it to. My charges made little to no headway against the Wraith units and the Pharaoh. Honestly, I think I did maybe 1 or 2 wounds with each charge. It was disheartening. They were going to Lifeleech it back, and the Wights were on the way. I was in real trouble.

The left didn't go any better. Neither of my charges was enough to rout the target, meaning I was going to cop some nasty counter-charges. A failed gamble.

As if the right flank wasn't going badly enough, the Wights cheated by moving into the flank and asking Mhorgoth for a boost. He Surged them in, and any chance I might have had of holding with the Honour Guard basically evaporated.

Flank charges and badness over on the left too. At least they'd be hindered, but given the Wights were hitting on 2+ normally, there was no real expectation that this would help me. I held out some hope that the Mammoth might be able to worry the Revenants on the second attempt. That's about it.

The Honour Guard perished as expected, and the fact that my other units had not yet taken much damage was little comfort given how much the next wave of charges was likely to hurt.

On the left, the other unit of Honour Guard also routed. The Knights took a beating and wavered. Adam's efforts were going better than mine. The Halflings were approaching, however. Surely they could salvage this!

This picture shows my moment of glory, when the Baron and his friends finally defeated their troop of Wraiths. They reformed in celebration, with the Baron turning back toward the Revenants (they were starting to look like my best chance of getting some more points). The Pharaoh continued to bog the other Knights, meaning they were about to meet a terrible fate involving Wights to the flank.

The Halflings arrived to help the Mammoth try to finish off the Revenants, but realistically this was just for laughs at this point. The Revenants were pretty safe. I had hit them relatively hard on the initial charge, but my reduced threat and Lifeleech were enough to mean I'd need a big spike in the dice to have any chance now. No such wild rolling was forthcoming, so... Yeah.

Over on the flank, the Knights failed to shrug off their waver and accepted their fate. The birb had another crack at the Trolls, but Drain Life had been used to improve their situation and my efforts were not going to be enough.

See that? That's the mountain of models I had killed to this point. Utter devastation. Obviously by this point my opponent had been reduced to tears and grovelling, pleading for the pain to be over. Or maybe that was me. Who can keep track of these things?

The Pharaoh spun about to help the Wraiths in their combat, figuring the Wights had the other lot under control. Hard to argue.

It was all clean-up by this point. The Mammoth was flanked by Wights who now only needed 2+ to hit, so his time was up. In agreement with this, the Revenants charged the Halflings rather than helping with the Mammoth.

This turn saw the entire flank vanish. Both the Knights and birb routed under the repeated attentions of their new friends.

And then there was one.

The Baron made a brave final charge into the Revenants, but with both the Mammoth and Halflings gone, they had been able to reform to shield their flank. It was a forlorn hope. And then it was the end. I had been wiped out.
Well that was probably the most one-sided butt-kicking I have ever received in over 20 years of attending tournaments. I had killed a single troop of Wraiths, so had claimed 110 points to 2000. It probably merits a bit more consideration than most of my losses.
Where did I go wrong? I'm not convinced there was all that much wrong with my deployment, but it started to go wrong pretty much straight away from there. Adam showed that he was willing to be patient and play tight, and I responded with a gamble in the form of the flanking birb. If that had worked better, it might have all gone OK. But there's no guarantee of that. When you think about it, I had 2 true 10" flyers to Adam's Pharaoh, and I had 3 units of Knights and a Baron with more charge range than all the 7" flying undead units. With all these advantages in speed, there is little excuse for allowing multiple Knight units to be charged before they could bring their lances to bear. I needed to be more patient, even if a more gradual approach resulted in a few turns being wasted as the enemy backed up.
I won't bother dissecting the left flank. I really only committed that stuff as a desperate gamble to regain lost ground, and unsurprisingly it didn't work. The game had already been lost.
I'm generally pretty lazy and impatient with my play, and my casual approach to the tournament probably didn't help. I was coming into this game inside the top 10, a place I hadn't really intended to be, and was basically waiting to get whacked. That mindset and a lack of practice before the event probably guaranteed it would happen. I ran into someone who ran a tighter ship than me, and paid the price.
Also Wights are scary.
Result: 0-21
Ouch. For one, that's a nasty Undead list (and a great looking one, best use of Nighthaunts I've seen). I agree you lost the right through impatience, with Undead losing most of their 10" flyers you should have been able to double-charge whatever you wanted. His intent was clearly to use the wraiths to absorb, the pharaoh to stop one of your units (honor guard), and the wights to delete at least one unit on the counter-charge.
ReplyDeleteOn the left, I think the play was to double-charge the trolls with knights + honor guard, arguably the weakest mainline unit he's got, and even hindered probably break them (two shots on 7+ or thereabouts). I'd probably charge the left revs with the left birb and the right revs with the mammoth, simply to hold them up while the wights engage the knights or honor guard. Mhorgoth might surge them into a flank ... but that means he isn't bane chanting or doing anything else. Another upside of gumming up the left is getting him to disengage from the right, where you can hook in.
But whatever, I've been in your place before. Rose too high, longed for the depths, made the game get over quicker. Typically I end up getting slapped down by Undead or Elves (or did in 2E).