
This is the continuation of my report of a recent 6th edition Warhammer Fantasy tournament. You can find the previous part here, or go back to the start here.
Game 3 - Break Their Will
Kierin McPartland - Wood Elves (Drycha)
What the hell, another Drycha army? I admit, I didn't see that coming. This was going to be a really weird game...
- Drycha (Level 2, Lore of Athel Loren)
- Branchwraith (Level 1, Lore of Athel Loren) with Annoyance of Netlings, Lamentation of Despairs
- 12 Dryads
- 11 Dryads
- 8 Dryads
- 8 Dryads
- 8 Wild Riders with Full Command, War Banner
- 5 Wild Riders with Standard, Musician, Banner of the Zenith
- 4 Treekin with Elder
- Treeman
Yeah, that's very similar to my own list - there's not really a lot of choice in an all-Forest Spirit army. The scenario was a variation of Blood and Glory from 8th edition - breaking your opponent was worth bonus points (the sooner you did it, the more it was worth), and the break point was based on characters and champions instead of banners.

Kierin painted up his army as a sort of "corrupted" version of the Forest Spirits, so we agreed that my Drycha was the good guy, and he was driving the baddies. That's the bigger unit of Wild Riders over to my left flank, behind the impassable ruins.

Dryads everywhere, but no Treeman. The Treeman was put into reserve, to appear at an inopportune time in one of the forests. The big swamp in Kierin's deployment zone is actually a swamp. The little round one is actually the yucky bonus forest that corrupted Drycha and her friends brought with her.
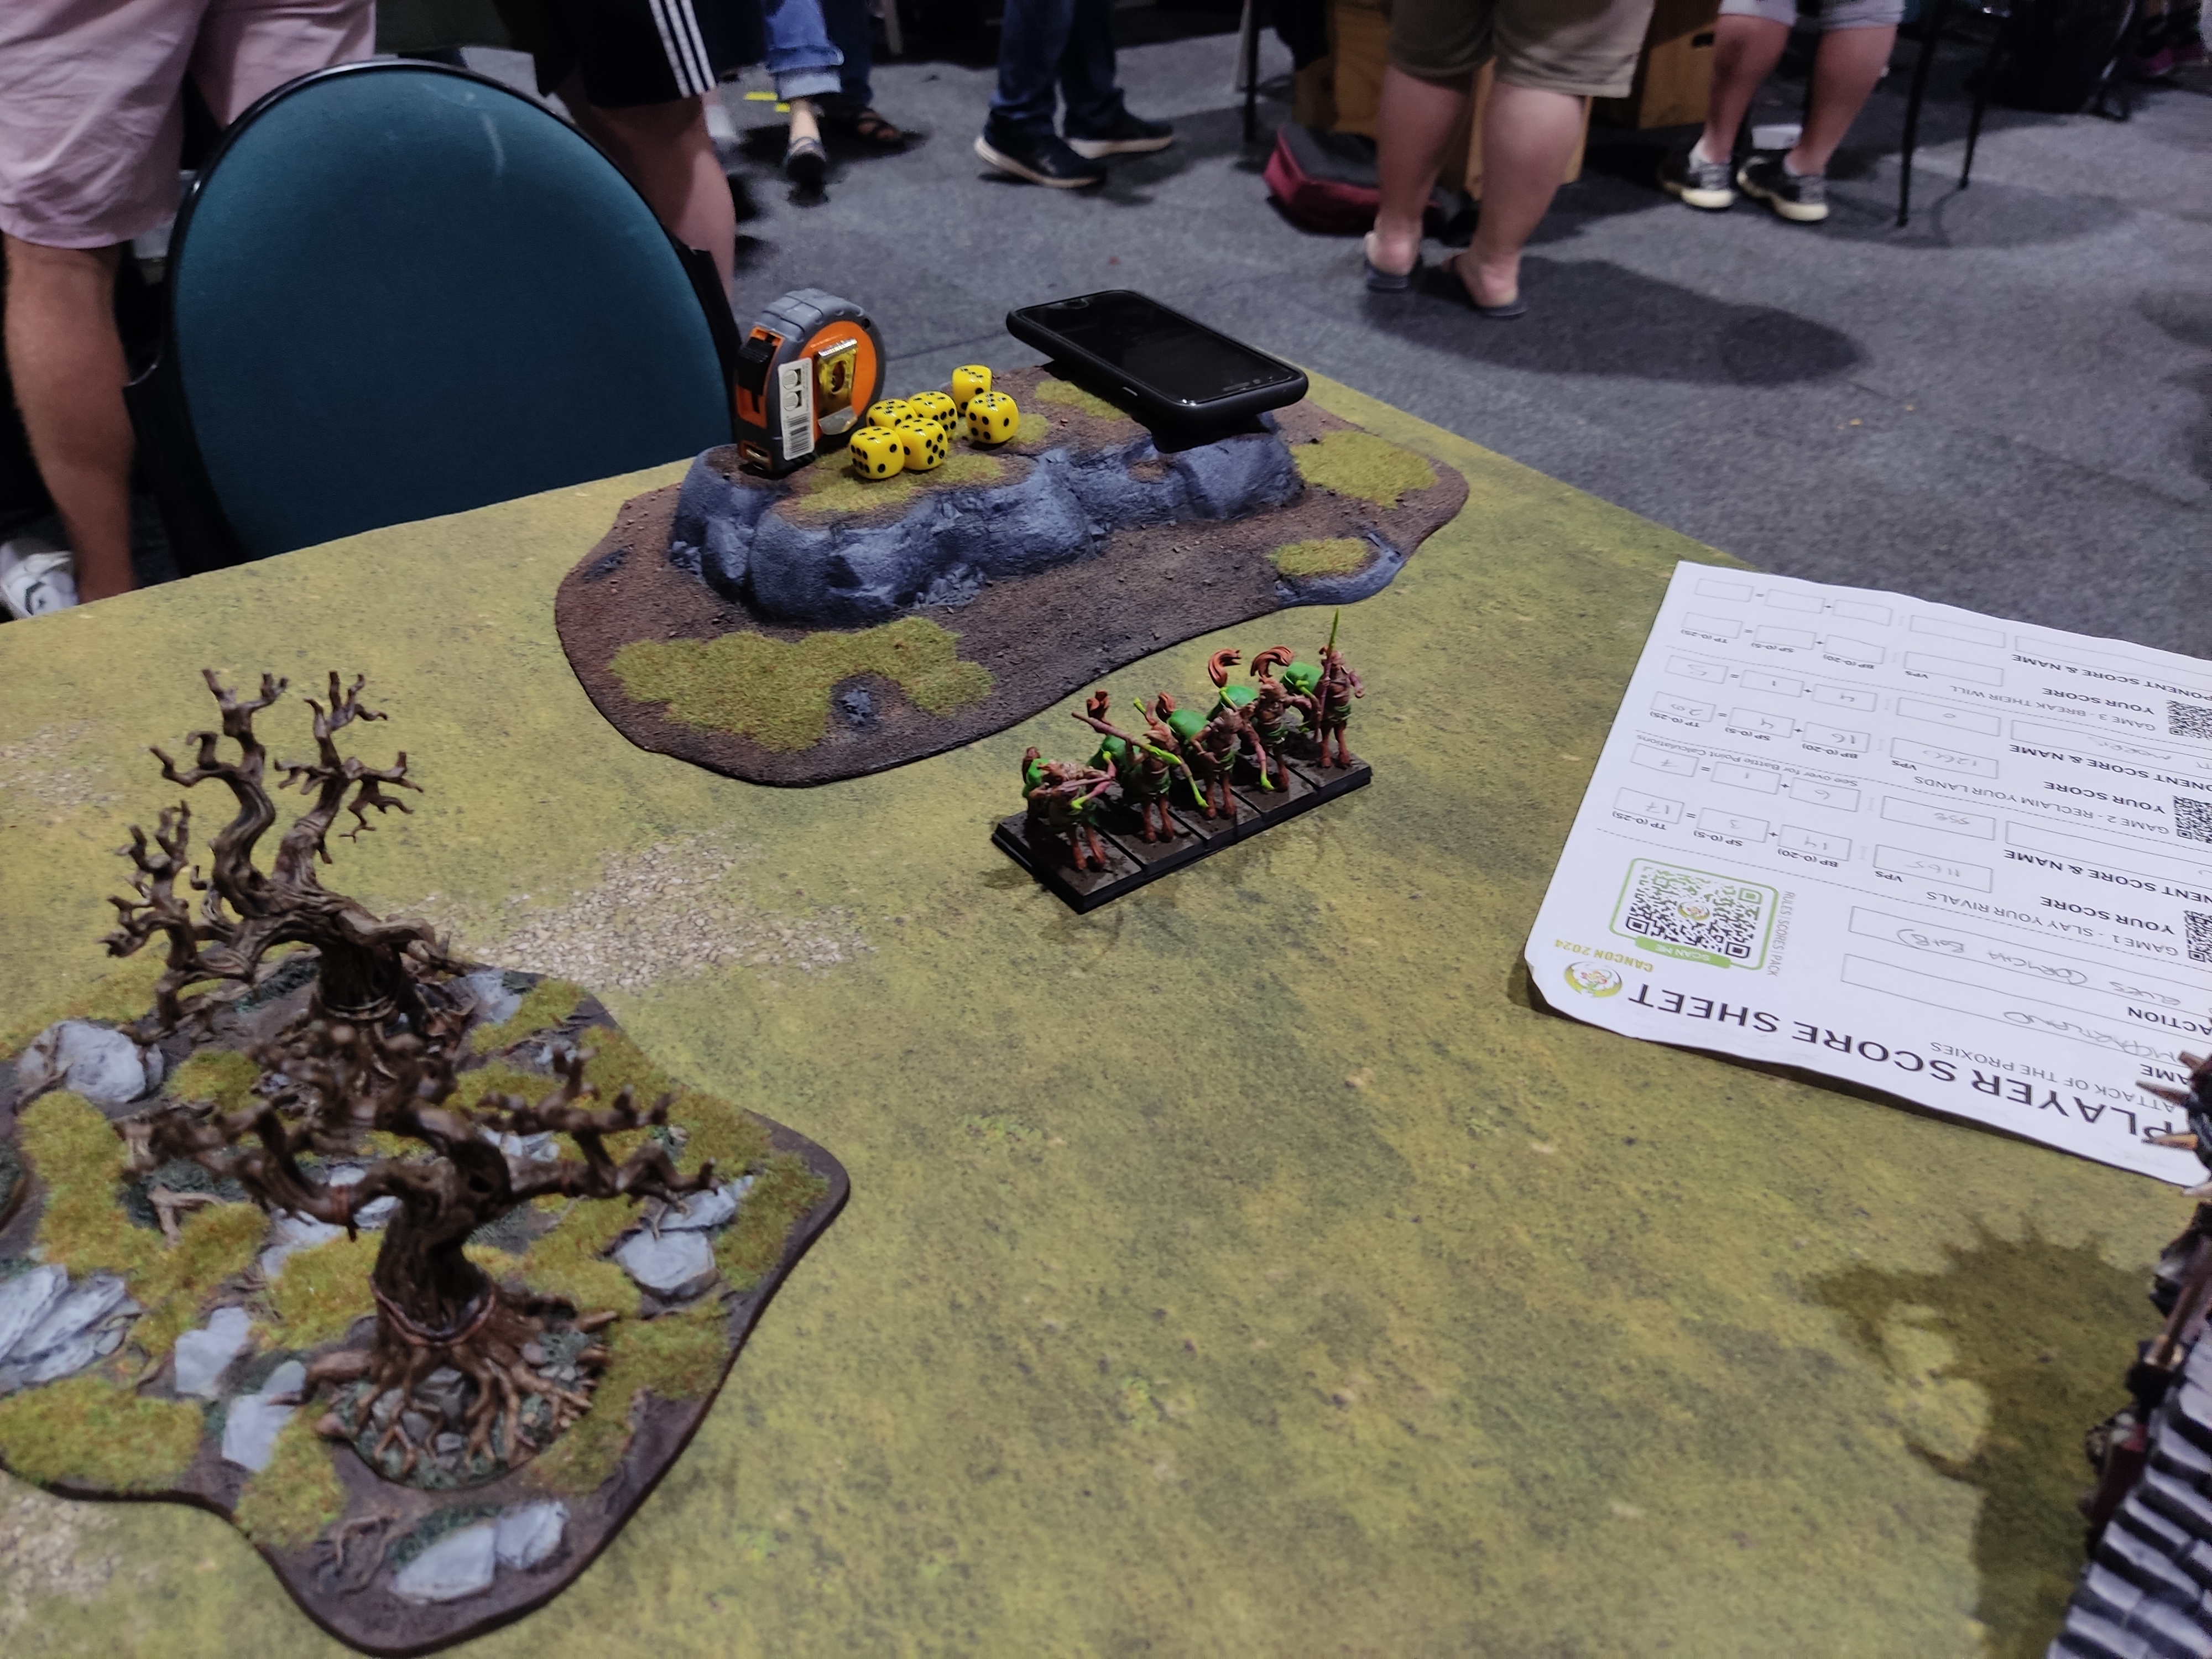
The smaller Wild Rider unit went on my right flank. Also Kierin appears to be like a wombat, depositing cubes and things on whatever high ground he can find.

My deployment had a big stone circle thing in front of it, It would have been annoying if my list wasn't mostly composed of skirmishers. I got the first turn and advanced, not taking enough care to keep clear of the trees (which were everywhere). Both my Wild Riders nearer the camera and the Treekin up near the other end were in trees. Normally that's a good thing for me...

The enemy Wild Riders scooted up and hid behind the terrain in an unsporting fashion.

Most of the enemy line really didn't advance, but then the magic started and I realised why this game would be backwards. Neither of us could afford to send our units into forests because of all the Treesinging being waved around. The Treekin found this out the hard way, losing one of their number to the trees who they had assumed would be their friends. Very sad.

In my turn I worked to flush the Wild Riders out of their hiding place, march blocking them whilst I was at it. I think my Spellsinger threw Fury of the Forest at them, but it didn't get through.

I was doing all the movement across most of the field. Clearly I was the less patient player. I tried to pretend that I had a plan, of course. Of course I had a plan! I'm not sure I fooled anyone...

On the left flank, the Dryads were trying to make use of the terrain to get closer than the large unit of Wild Riders would otherwise allow.

Getting pretty close to things being within charge range now...

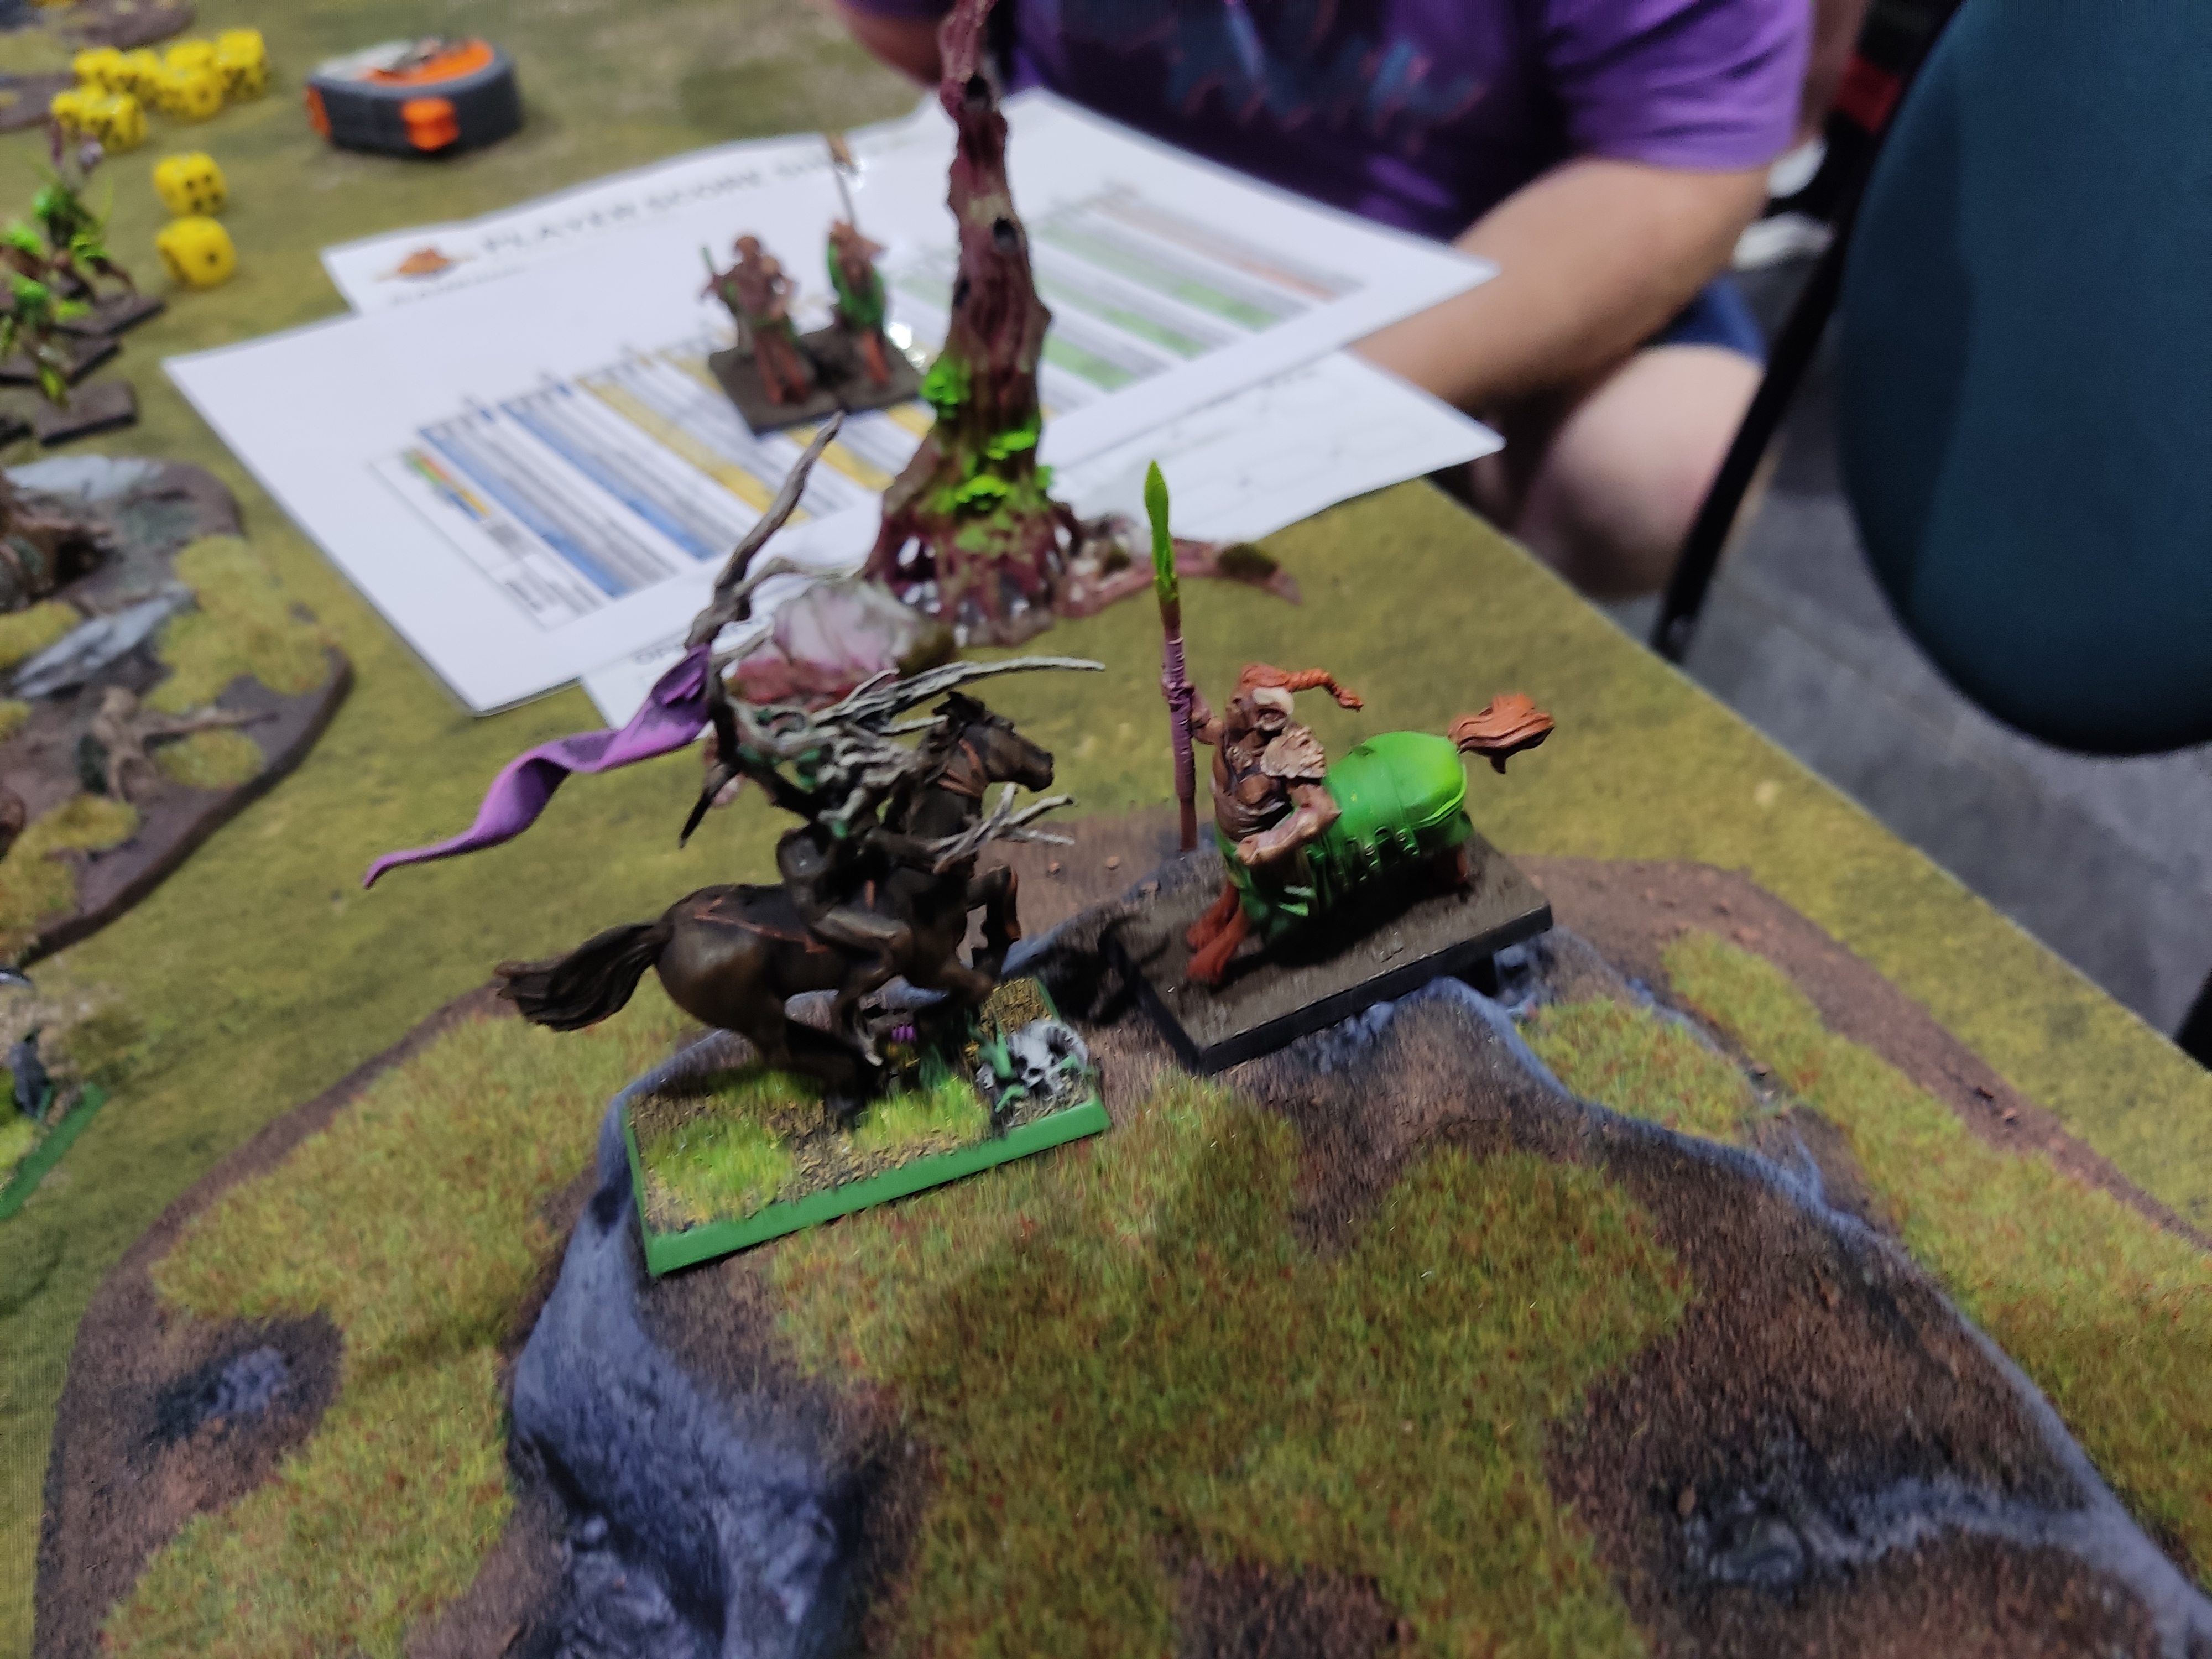
In Kierin's turn the Treeman appeared out of reserve. I kind of knew this could happen, but couldn't really spent too much energy allowing for it in case he was delayed. He immediately showed an interest in Stranglerooting the Spellsinger, but couldn't target her due to the Wild Riders being the closest target. The next turn however, the Spellsinger wasn't able to get out of range once the Treeman marched. He got her easily on the second attempt.

In my turn, my efforts to flush out the Wild Riders paid off. They were in charge range of my own Wild Riders and I decided it was better to charge than be charged (although Wild Riders are weird in that they get an extra attack and lose a strength when not charging). I was sort of right - we did relatively minimal damage to each other, they broke after losing by 1, and they narrowly escaped before rallying near the table edge. Looking at the fact that there are 3 of us on either side there, I'm not actually sure how I won combat. Maybe I had lost a model to Strangleroots and did an extra wound...

The game was shaping up as a whole lot of stand-offs, which was of little interest to me. It's rather scary looking across the table at all the same sort of units, knowing they can equally murder each other and have the same charge ranges... Anyway, I felt like I was making all the running in the game (look at them all still sitting in their deployment zone), and leaned into it. The Treeman stepped right up into the face of the Treekin. He would be in range of the Dryads on either side as well, but really that wasn't important. I had no doubt he would live through the combat, and if they were silly enough to charge him (and be passed his stubborn test) I could roll through the enemy centre with my own flanking units. It was not a perfect plan, but it was certainly a plan...

Well, they took the bait. Now we see what happens...

I done stuffed up on the left flank. I got distracted by something and forgot to shift the Wild Riders back when the enemy unit had moved up. I had decided not to charge them, based on them having the numbers (and the War Banner). Now they were charging us, which was obviously bad. Except that somehow it wasn't. Kierin rolled poorly on his attacks and killed maybe 1 of my guys. We then retaliated with more attacks (albeit at one less Strength) and killed 3 of them. The combat may have been a draw. So I had effectively won one Wild Rider face-off by charging, and the other by receiving the charge, with help on hand. You can't really explain that beyond luck. I was lucky.

So the Treeman plan didn't really work. He took 3 wounds, almost killed the Treekin champion, then failed the stubborn test and was run down. On the bright side, it dragged all of the enemy units into charge range of my own units, and I charged with everything I had.

Honestly, I can't remember the logic behind the Dryads on the flank going behind the forest. Maybe they were making sure my Wild Riders had insurance and/or protection.

On the left flank my Dryads flanked the Wild Riders, who hadn't bothered to clean off their dead yet.
The clash between the other Wild Riders was going down to the wire. Eventually I won that duel.

In the centre I think we caught one unit of Dryads and basically wiped out the other one (Drycha did a number on them), before carrying on into the Treekin. The question now was going to be whether Kierin decided to commit his other Dryad units (including his own Drycha) to the fray.

The rescue of my Wild Riders on the left was progressing, but some lapping was in order to seal the deal. The enemy didn't want to run away.

In answer to the earlier question, yes: the remaining enemy units all piled into the combat in the centre. Honestly, I got the better of the rolling. We dropped dome of the Treekin without getting too badly walloped in return. Swinging first for some of it helped me, but really the combat was a bit of a coin toss. I don't remember who actually won the round, but I still had more units nearby...

Into the flank came the remaining Treekin and another larger unit of Dryads. I felt like at this point I should have things under control (I now had the flank and outnumber), but if anything things just got messier. I don't honestly recall if I managed to get Ariel's Blessing off or something to tip things in my favour. It was all pretty dicey.

In the end I did win the combat, I think mainly due to eroding the enemy Treekin. The enemy units broke and we pursued, wiping them all out. But there was a Treeman surfing toward the rear of Drycha's unit, using Treesinging on my forest of all things. How rude!

I had now broken the enemy army, so had the bonus points. But Kierin hadn't given up on the idea of breaking me in return. Drycha was all he needed, and I had little to really threaten the Treeman in return. Drycha threw herself at him, bounced off, got wounded and even angrier, but lost the combat and broke. We got away and rallied, but it wasn't over.

I don't actually recall how the fight ended up over here (I think he chased the green Dryads when they went in to try to save Drycha), but this was where the Treeman made his last stand. I threw what I could at him, he actually pummeled down Drycha after she bounced off him again, but we won combat thanks to the bulk and flank from the Treekin. The Treeman failed his stubborn test and the enemy had been wiped out.
That game had been a very strange mess. 2 armies entirely composed of forest spirits that were basically unwilling to enter forests due to all the Treesinging on hand. Weird mirror combats that were often decided by who charged, or just plain dice. Treeman that basically couldn't be killed by anything that was thrown at them, but could still be broken despite being stubborn. In the end I felt like I had been somewhat rewarded for buying key charges in the centre at the expense of my Treeman, but I also felt like the dice had been slightly in my favour, and that was all the difference that was needed.
Result: 19-4 (maybe 17-3 before bonuses)
You can find the next part of my report here.
No comments:
Post a Comment