
Game 3: Dominate!
Clint Richards, Twilight Kin
- Dark Lord on Dragon with Ensorcelled Armour
- Dark Lord with Blade of Beast Slayer
- Wiz with Fireball, Bane Chant and amulet
- Dark Knight Reg with Blessing of the Gods
- Dark Knight Reg with Potion of Caterpillar
- Reaper Guard with blade of Slashing
- Reaper Guard with Brew of Haste
- Reaper Guard with Fire Oil
- Hydra
- Gargoyles
- Spear Horde with Brew of Strength
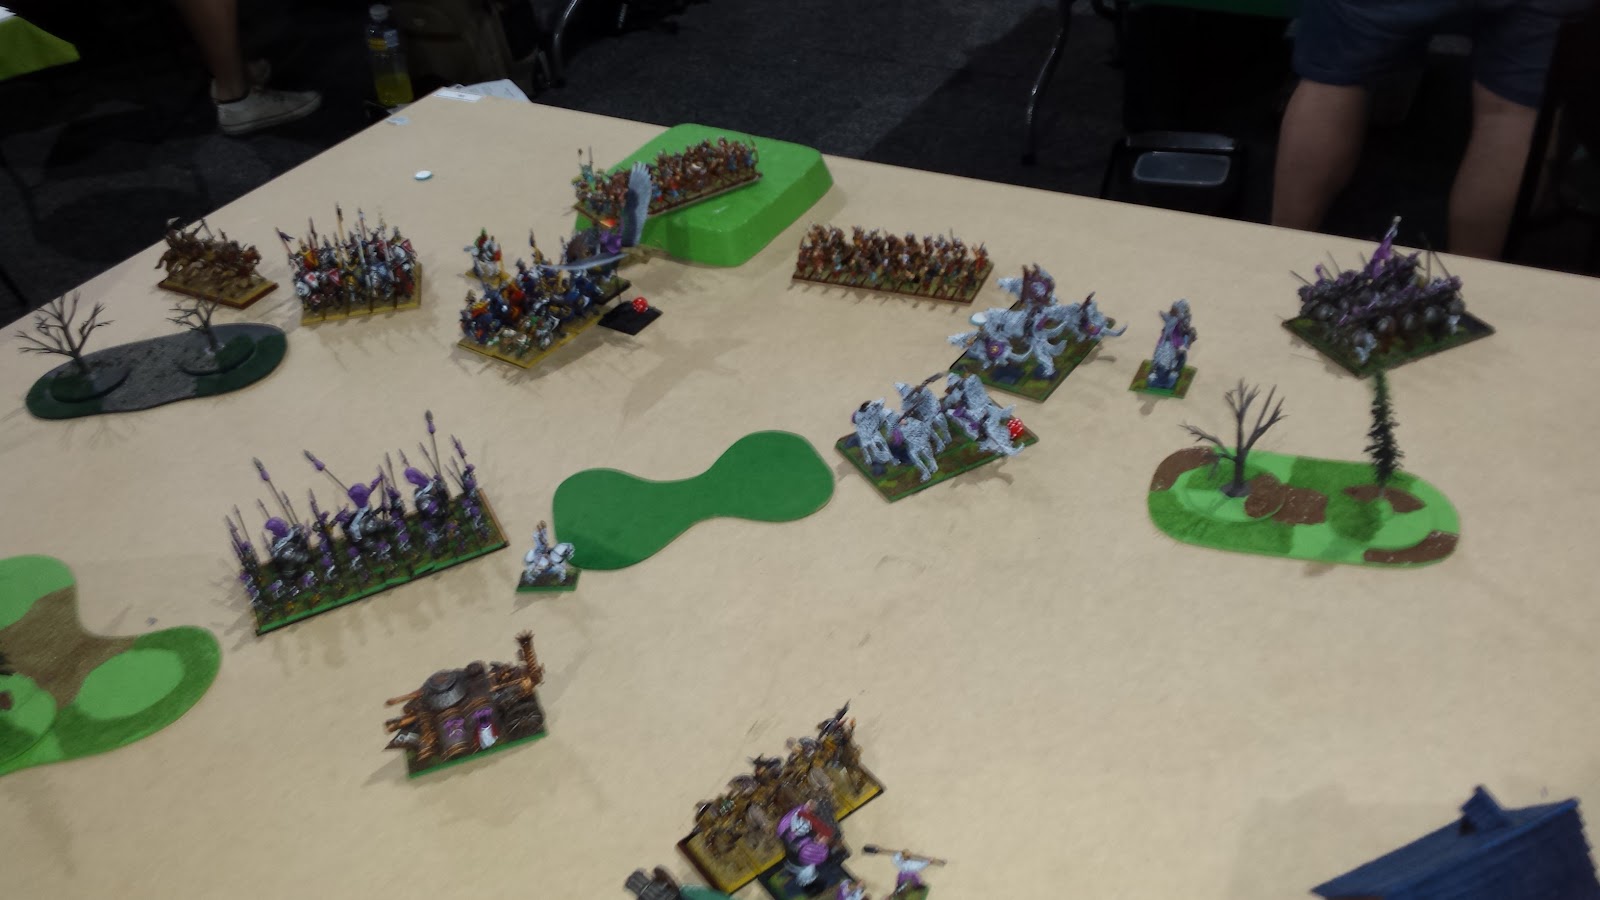
I had never played against Twilight Kin before, but they were similar enough to Elves that I had some idea of how to approach things. This game turned out to be my favourite game of KoW so far, and I really wished I had been taking photos toward the end. Oh well. I have consoled myself by trying to reconstruct the game using Battle Chronicler. At least then you might be able to follow what I'm talking about. The description (such as I remember things) is in the captions.

 |
| Clint Turn 1: Clint got the first turn and actually backed his stuff facing the Volley Guns and Honour Guard behind the hill. He advanced a bit on the flanks, but was generally hesitant for a player with no real shooting. |
 |
| My Turn 1: I was less hesitant. I raced the Honour Guard toward the hill whilst the Volley Guns advanced to be in range of Clint's units changed their minds and stepped forward again. I managed to get the Knights, Militia and Birdie out of the arc of the Dragon, trying to force the Dark Knights into an unfavourable situation (the Militia were not consulted during the making of this plan, as they are considered to be very negative when the words "noble sacrifice" come up. The map may be slightly flawed, but there was no way for the enemy to skip past the Militia and into my Knights. |
 |
| Clint Turn 2: In a clear moral victory, the Militia's advance forced the Dark Knights back. The Dragon scrambled to get a better view of proceedings whilst the Reaper Guard (who had the Potion of Haste) realised they had an identical charge range to the Honour Guard, and this forced an impasse. On the other flank, the Dark Knights and Reaper Guard did indeed change their minds and step forward onto the hill again. But this time Clint turned another unit of Reaper Guard and the Dark Lord on foot to threaten the flank of the Honour Guard if they decided to go in. The Gargoyles also took the bait and charged their exposed flank, just barely managing to do the wound they needed to knock off Thunderous Charge. |
 |
| My Turn 2: The Doggy charged into the rear of the Gargoyles and routed them with relative ease. After considering my options I eventually decided to gamble by sending the Honour Guard into the Dark Knights whilst the Volley Guns hosed the Reaper Guard. This plan went better than I could have hoped. I rolled a ton of hits with the Volley Guns and with the Reaper Guard being just outside of Inspiring range, they promptly routed! To make things even worse for Clint, the Honour Guard rolled reasonably well despite not having Thunderous Charge, and then I rolled high for the rout roll and cleaned them up too! This meant I could reform and wasn't even exposing a flank anymore. It was all going rather better than expected. On the other flank the Militia went At the Double again, straight into the faces of the Dark Knights. There would be no backing off this time. |
 |
| Clint Turn 3: The response from Clint was pretty comprehensive, with almost everything charging. The Reaper Guard and Dark Lord went into the Honour Guard side-by-side, and managed to waver them. As disappointing as this might have been, I could hardly complain after the damage I had just done. The Spearmen went into the Dogs of War and with the benefit of Bane-chant, did about 10 wounds before being pushed back. The Reaper Guard did little to the Iron Beast, whilst the Dragon did 5 wounds to the Honour Guard, then fluked a high nerve roll to waver them. That was extremely fortunate for him, although I did have Dwarven Ale so might be able to charge anyway. The Dark Knights on my right flank admitted the inevitability of things and charged the Militia, routing them immediately before bracing for what was to follow. |
 |
| My Turn 3: Both Honour Guard units wavering was not ideal, but I was still in control. On the right flank my Knights hit the Dark Knights and did significant damage, but didn't waver them. Oh well. The Birdie went into the flank of the Dragon, but the Honour Guard failed their Headstrong test and left him to work alone. The Birdie managed only 5 wounds, which was not enough to really trouble the Dragon. The Iron Beast damaged the Reaper Guard, and the Dogs of War (with Bane-chant) did a similar amount of damage to what the Spearmen had done to them. On the left the Doggy couldn't quite see the Dark Lord, so moved around for a better vantage point whilst the Volley Guns opened up on the Reaper Guard. If I could waver them I could shield the Honour Guard. I did something like 8 damage, but it was not enough to concern them. |
 |
| Clint Turn 4: The Reaper Guard on my left did indeed charge the Honour Guard again, and this time they managed to rout them. The Dark Lord didn't even bother helping, simply assuming they had matters well in hand and electing instead to run off toward the Volley Guns. The Spearmen went into the Dogs of War a second time and routed them. With Inspiring right behind them, I had hoped they would last slightly longer. The Reaper Guard dented the Iron Beast a bit more, but the Dragon decided that he was not in fact in the best situation and flew over the Honour Guard before turning. On the right the Dark Knights and Hydra both went into my Knights, and they took a moderate amount of damage without wavering. Actually, they may have wavered, but they have Fury anyway. So who cares? They certainly didn't... |
 |
| My Turn 4: Things had been well under control, but my units were not holding up to punishment the way I might have hoped. The Reaper Guard up the back had taken significant damage from the shooting earlier and their Inspiring Dark Lord had abandoned them, so I decided to send in the Doggy on a speculative mission to see how their resolve held up. Turns out it really didn't. They routed on the spot. That was a bit of a bonus. The demise of the Dogs of War had messed up my centre a bit, but I came up with a plan. The Volley Gun that could see the Spearmen opened up on them, whilst the Iron Beast backed up to breathe on them and the Wizard threw Fireballs. I figured the combined damage should be enough to deal with them, given they had no Inspiring within range. It also freed up the Birdie to go deal with the pesky Wizard, whose Bane-chants had cost me the Dogs of War. The Honour Guard went into the Reaper Guard, given the Iron Beast was busy hissing at the Spearmen. It all went more or less to plan, except for the shooting part. The Volley Gun only landed something like 3 hits. The Iron Beast rolled 1. The Fireball didn't inflict any at all. My dice were kind of falling apart. The Spearmen laughed off my efforts. This meant the Honour Guard had a problem - once they killed the Reaper Guard they now had too many directions to face. In the end I faced the Spearmen and left the Dragon in my flank. If he went for it, at least I knew where he would be. On the right flank my Knights hit the Dark Knights a second time, and even without their lances it was a bit much for the enemy regiment and they routed. |
 |
| Clint Turn 5: In Clint's turn the rot continued in my ranks. The Spearmen flanked and routed the Iron Beast with slightly insulting ease, whilst the Dragon made a short meal of the Honour Guard. The Hydra likewise went straight through my Knights. The only thing that could take a charge that turn was my Volley Gun. Go figure. |
 |
| My Turn 5: Honestly my memory gets slightly vague at this part of the game. I think I had to choose between the Spearmen and the Dragon for the Birdie's charge (unless the Dragon was out of range) and went for the Spearmen. I couldn't count on shooting them to death after how poorly the previous effort went. The Birdie did indeed rout them, whilst my shooting went into the Dragon who took minor damage (I think he was up to maybe 8 wounds). The Doggy realised his contributions would be limited, so hid behind the house within the 12" control circle. |
 |
| Clint Turn 6: It was possibly the last turn, and at this point I was actually winning. The map may not be quite right, but I think everything but the Engineer was in the circle. Clint decided to gamble and threw the Dragon straight into the front of the Birdie, who was unscathed. This really should not have worked, but it did. He rolled like a fiend, did 9 wounds, and then routed me despite Inspiring. It was a brutal swing in terms of the points in the circle. My biggest unit replaced by Clint's. Now I was losing. I also lost one the Volley Guns after the Dark Lord went in a second time and finished it off. |
 |
| My Turn 6: In what could be my last chance, I threw everything I had at the Dragon. That basically meant the remaining Volley Gun and the Wizard's Fireball. I needed to roll reasonably well to really scare him, but didn't come close. After the first 2 glorious turns, my Volley Guns never managed more than 3 hits at a time. I think they were low on ammo. Anyway, the Dragon laughed off my efforts and then to further taunt me, the game continued to Turn 7. I suspect a Turn 6 finish would have been a draw. |
 |
| Clint Turn 7: At this point the Twilight Kin commenced mopping up my forces in the circle. The Dark Lord showed that his practice against the first Volley Gun had paid off by routing the second one straight away. The Dragon made short work of the Wizard, whilst the Hydra scooted in to add its scoring value to the control circle. |
 |
| My Turn 7: There was not much left for my final turn. I think it was still theoretically possible to draw the game, but I needed to kill the Dragon. Simple, huh? Unfortunately all I had to do this with was the Halfling Engineer's long rifle. He took aim and fired, hitting the Dragon rider squarely between the eyes. It was an excellent shot, but the wound was only enough to waver the Dragon (I needed a huge roll given he was Inspiring). It was close, but not close enough. |
Result: Loss
VPs: 1375 - 1830
Game 4: Pillage!
Mark Audley, Brotherhood
- Devoted on Horse
- Devoted on Horse
- Order of the Brotherhood Regiment with Potion of Caterpillar
- Order of the Brotherhood Regiment
- Villein Initiates Regiment
- Villein Bowmen Horde
- Villein Bowmen Horde
- Villein Reconnoiterers Troop
- Villein Reconnoiterers Troop
- Order of the Forsaken Horde with Potion of Haste
- Order of the Forsaken Horde with Fire Oil
- Forsaken Beast
At the start of day 2 I arrived at the venue at a good time, only to realise I had left something behind again. This time it was my bag containing everything except my models. Apparently I had taken it out of the car the previous evening for some reason. Anyway, by the time I spent 40 minutes driving to our accommodation and back again, I was running late. What was it with this event and my complete lack of organisation?
Mark was very understanding and we got under way as quickly as we could. In our haste I think we stuffed up placing the pillage markers, and did it after we chose table sides. With an even number of counters, we unsurprisingly ended up with a very symmetrical layout. Oh well, I don't think either of us cared.
It was only Mark's 4th ever game of KoW (it turns out only chumps play a practice game of the nominated system before entering tournaments), and he was using a list that had been constructed for him. I was somewhat shocked to find a list with no Inspiring anywhere. It's certainly not something I would never dare to try.
We deployed diagonally opposite each other, with Mark heavily stacking the flank to my left whilst most of my stuff was to the right side of my deployment zone. With a couple of forests more or less forming a screen between where we were likely to be engaging, they seemed like they would have an impact. I got the first turn and swept around aggressively, leaving my Militia behind on an objective far off to the right behind a building (they were never going to be challenged where they were). My Volley Guns were sitting on another objective on a hill, and simply turned to face the approach that was likely to be taken by the Order of the Forsaken (Pegasus Knights) and their Knightly friends.
Mark rolled really very impressively for the first couple of turns with his Bowmen. He did significant damage to my Honour Guard. I think we were both impressed until about the 4th turn, when he suddenly remembered they come with Piercing 1. I hadn't realised, so he had spent half the game (and the previous few games, I think) with a big self-imposed penalty. Suddenly the damage they had been doing felt slightly disappointing. Oh well.
 |
| By turn 2 I had pressed around pretty quickly and had already removed a regiment of the Order of the Brotherhood (where the Honour Guard nearer the table edge are standing), and a group of the Order of the Forsaken (down where the Iron Beast is facing). At the bottom you can see the Villeins who managed to run the gauntlet and get to one of the Volley Guns before perishing. |
Whilst I was doing this, Mark was presumably intending to do something similar to me on my left. The difference was I had a horde of pikes plugging the gap between 2 forests, and the firepower of the Volley Guns behind them. Nothing wanted to charge the pikes, so as they advanced they basically forced Mark's forces back. One group of the Order of the Forsaken went over their heads, but the Volley Guns and Iron Beast were waiting for that and obliterated them. Eventually a Villein Reconnoiterer unit got to one of the Volley Guns before they were picked off as well.
I sent the Birdie into the front of Mark's slightly weaker unit of knights (the Villein Initiates) in order to hold them up. The Forsaken Beast came in to assist them, but even together they were not able to waver me. I did take more damage than intended however, and ended up dropping behind Mark's lines and causing mischief there rather than engaging directly.
 |
| The net continues to close in, with the wounded Birdie now behind the enemy lines. Check out all the damage on the wavering Honour Guard down the bottom. Maybe Mark had remembered his Piercing by now. They were lucky to be alive now, but didn't make it through the game. |
Sorry, my memory of some of the details of this game are clearly very blurry. With about 2 turns to go I was already paying more attention to the control of the objectives than I was to killing the enemy. I think I wound up with 3 markers to Mark's 1, with the remaining 2 being either empty or contested.
Result: Win
VPs: 1345 - 645
So by this point I was on 2 wins and 2 losses. It was respectable enough. Only 2 more games to go...
You can find the final part of the tournament report here.
You were robbed in the TK game! Great reports. Thanks.
ReplyDeleteI don't know that I'd say I was robbed. I just had all my luck crammed into the first couple of turns of the game...
Delete