So, just in case you thought I had forgotten my mad ambitions to recreate the
Battle at the Gates of Kislev, I figured I would show how preparations are going. It's still early days, but that doesn't mean we've been sitting idle...
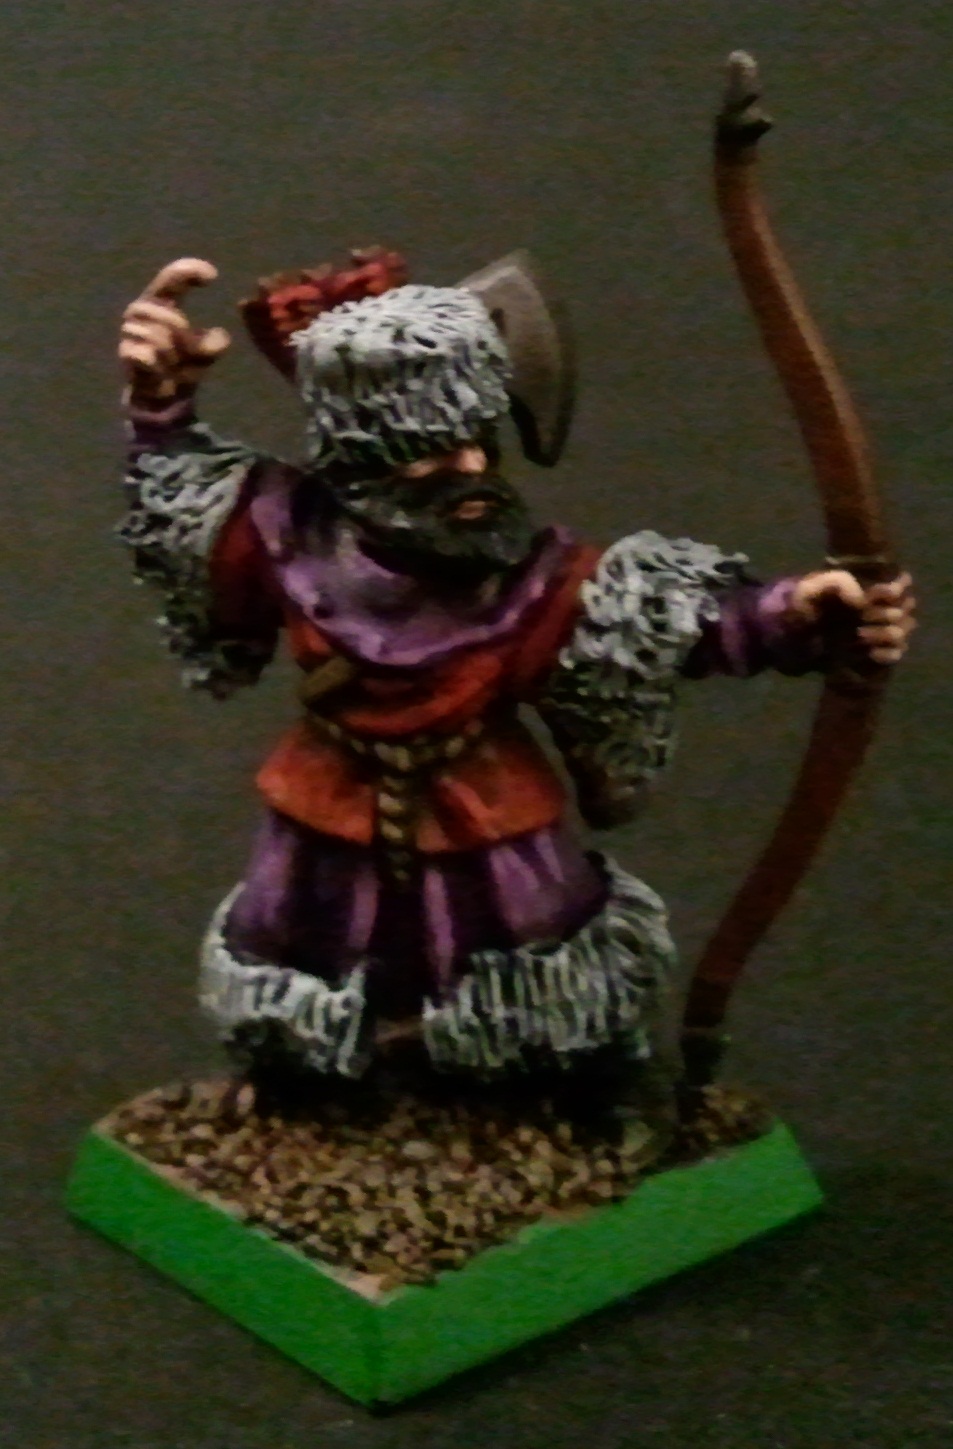
In case you missed the link in my last post, Owen from Terrain for Hippos has been working on converting a couple of units of Kislevites for me, from (of all things) Bretonnian Men-at-Arms and Bowmen. The first picture below is of the prototypes, instructions for which you can see
here. The rest are images he shot me over email, along with the blurb below them...
 |
| The first completed Kislevites, converted from Bretonnian peasants. |
 |
| The full project, in various stages of completion. |
 |
| The fully converted regiment. |
 |
| The work in progress regiment, including some brutal lobotomies... |
(From Owen's email):
I have arrayed the Kislevites in two units; one featuring the first command group and all the green-stuffed troops, the other featuring the second command group and non green-stuffed troops. The concept model also makes an appearance, as do the untouched bodies.
You will note that I've managed to get a single pose old school bowman to hold an axe (two of them actually!) but it only works on one body. I've also given a guy a complete fur cloak rather than just lining. He's not very visible here. There are a few Bret shields which have proved impossible to remove, but they're on command group models, so I'm sure you can just make them part of their finery. Also found out that bowmen have plenty of shields on them, and men at arms have none, apart from the command sprue figures!
As you can see, they're coming along nicely. Much (if not all) of this has been done in the last few days, and he'd probably be close to done if it hadn't run out of crucial components (I shall rectify this on the weekend). Once completed, these guys will be manning the walls of Kislev alongside their Dwarf allies, preparing to sally forth when the cavalry arrives.
I have also been working, although my focus has been slightly tempered by my involvement in Axemaster in just over a week. I need 14 knights and a hero painted by then, and the guys below will cover that. They've got paint on their bases and their steel is done, so they're well on their way...
 |
| 18 Knights Snow Leopard, along with the Grand Master who will be the Captain in their midst at Axemaster. |
 |
| Another shot of the Grand Master. I put him on a rock to help him stand out a little from his comrades. |
Once these guys are done, I will probably make a point of going back and adding cloaks to/painting the other 21 of them. Then I can get back to my Ogres. After all, I am going to want some Kislevite Ogres to pad out those Kossars...
Below we have the current proposed table layout for the game itself, as well as some of the game details. Obviously it's all in the planning stage right now. Click on the map for a larger version you can actually read.
The Battlefield
The Battle at the
Gates of Kislev takes place on a cross-shaped table. The centre of the
cross is a 6x4 foot table, with the long edges facing North and South.
Each side of the cross is then extended by 2 feet, giving you a table 10
feet wide (East-West) and 8 feet long (North-South), with the corners
missing.
A castle wall
(representing the wall of the city of Kislev) is placed on the North arm
of the table, with the front of the wall 12” from the join with the
centre of the cross. A gatehouse (preferably a large, impressive one)
should be placed as close to the centre of the wall as possible.
The battlefield is
fought out on a plain in front of the city gates. The only hill on the
battlefield is the Hill of Heroes, placed on the South arm of the table.
The hill should not be so large that it enters the centre of the cross.
You may place some forests if you wish, most likely in the corners of
the East, West and South arms of the table.
Deployment
Deployment is as follows:
1. The Kislev Defenders are deployed on and behind the walls of the city, on the North arm of the table.
2. The
Chaos armies are deployed anywhere on the centre of the cross, at least
12” from each of the enemy deployment zones as shown in the diagram
below.
3. The
Empire Infantry and Dwarfs are deployed on the South and West arms of
the cross respectively, at least 12” away from the Chaos deployment
zone.
Note that the Empire Cavalry do not begin the battle on the table.
First Turn
The Forces of Good have the first turn.
And finally, we have a number of the personalities involved in the battle. Note that these are all rules I have made up. The points values will be irrelevant (they're mainly for my reference to ensure some level of balance), and these characters are not meant to be balanced for general play. Some are based on existing special characters. Others are completely made up...