
Game 6 - Control
Jeff Traish - Forces of the Abyss
- Horde of Abyssal Ghouls
- Regiment of Abyssal Ghouls
- Regiment of Abyssal Ghouls
- Horde of Molochs with Blade of Slashing
- Horde of Molochs with Mace of Crushing
- Abyssal Fiend
- Manifestation of Ba'el
- Abyssal Warlock
- Abyssal Warlock
- Abyssal Warlock
- Horde of Lesser Obsidian Golems (Abyssal Dwarf allies)
- Horde of Lesser Obsidian Golems (Abyssal Dwarf allies)
- Hexcaster with Weakness (Abyssal Dwarf allies)

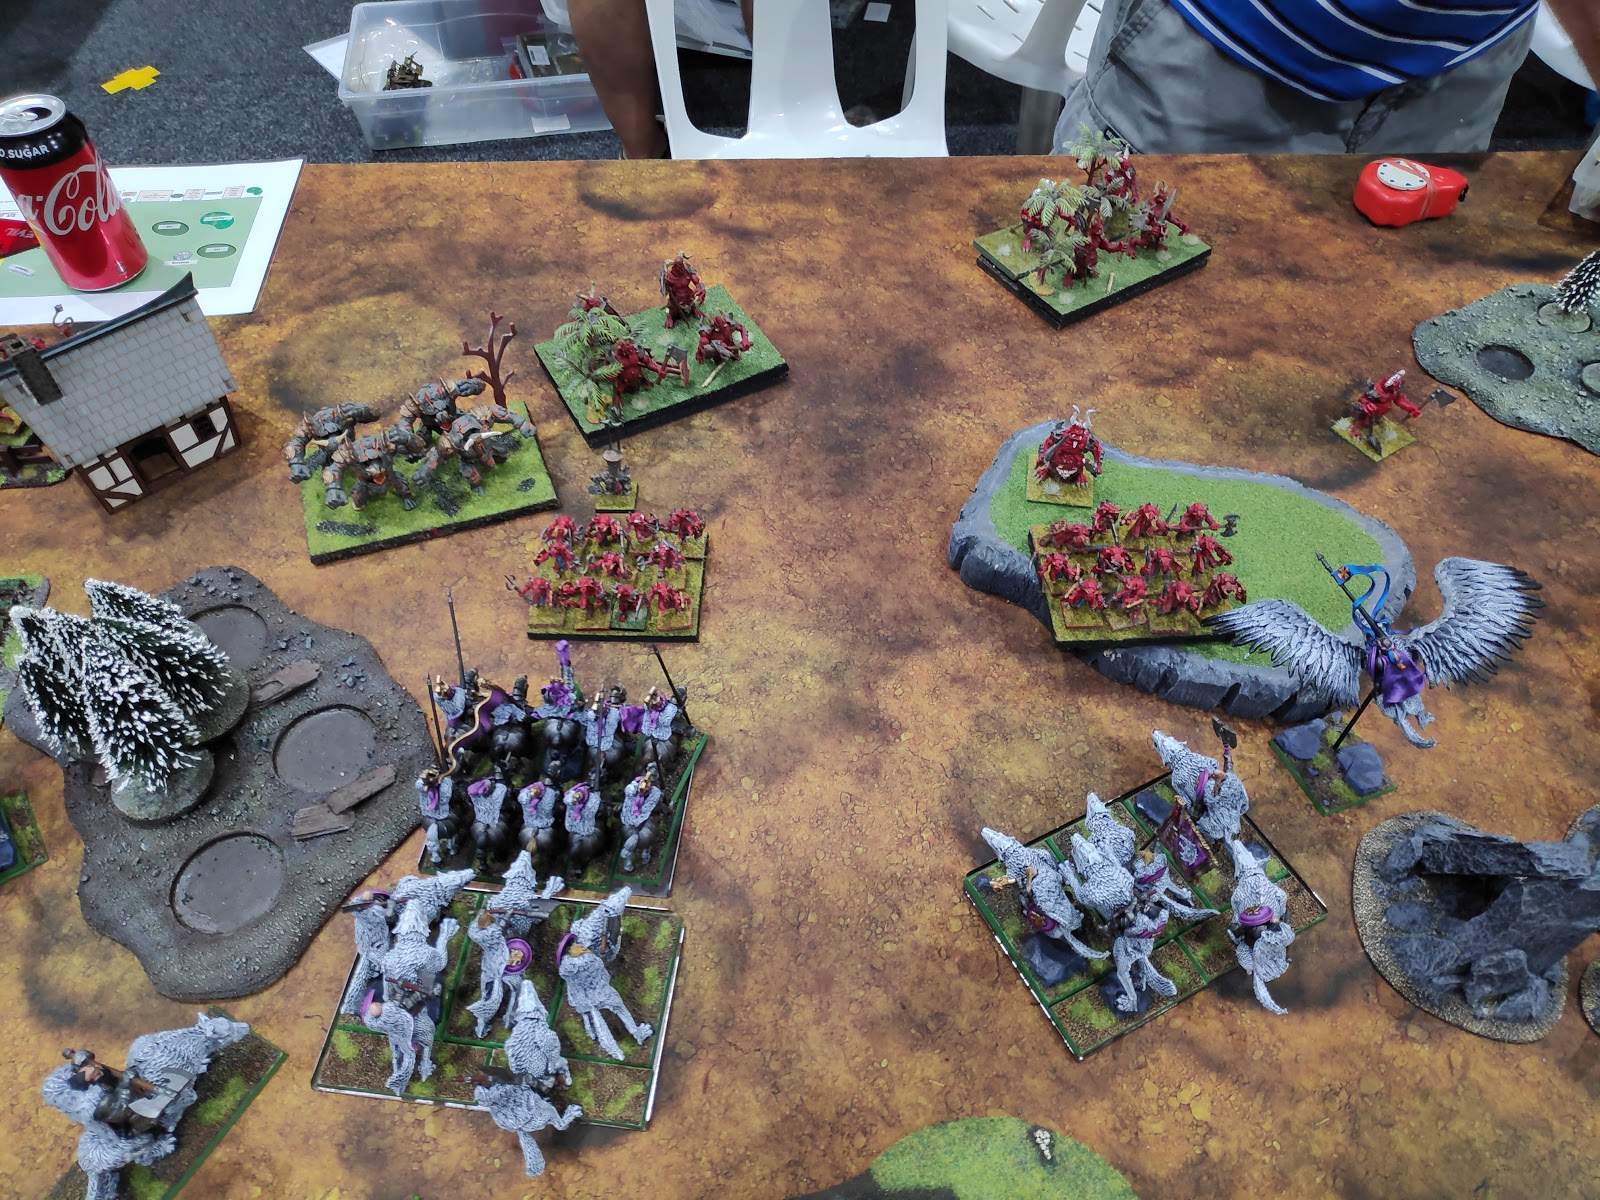
One of the Lesser Obsidian Golem units went hard on the flank, with the Fiend lurking right behind them. I wasn't sure where to put the Halflings, so planted them in the corner where they could sit all game and hopefully contest or control that table segment. This was dumb, of course. I should have put them nearer the join of 2 segments, where they could shift about as needed. This occurred to me just after I declared they were sorted.

The Molochs are up the back, behind the screen of Ghouls and Warlocks. The second unit of Golems was set up behind the forest. I was wary of Jeff's shooting, with an array of lightning, firebolts and fireballs at his disposal. I had the suspicion he would try to work me into some sort of stand-off and try to wear me down if I dithered. Really it wasn't that much shooting, but looking back, I really hadn't played against much shooting, including my practice games of 3rd ed. Basically I didn't have a settled plan on how to approach it. I tried to deploy with my angles of approach as clear as possible, in case I decided to rush the enemy lines.

The horde of Ghouls deployed behind a ton of terrain. Basically it was an obvious tar pit that would bog my units. Unfortunately the Manifestation of Ba'el went hard on the flank, with its speed and considerable lightning. I didn't have all that much stuff over there. What to do about it now?

I took the first turn and went moderately aggressive. Nothing moved within charge range over on the right.

In the centre I was quite aggressive, but still staying outside of charge range. I kept the Knights up front, meaning I would have a longer reach beyond the enemy front lines if a gap was left.

I sent the Baron over to the left to ensure I could threaten flank charges, as the Manifestation of Ba'el was the one thing I allowed to be within charge range.

Now we would see what sort of game Mr Traish was planning to play.

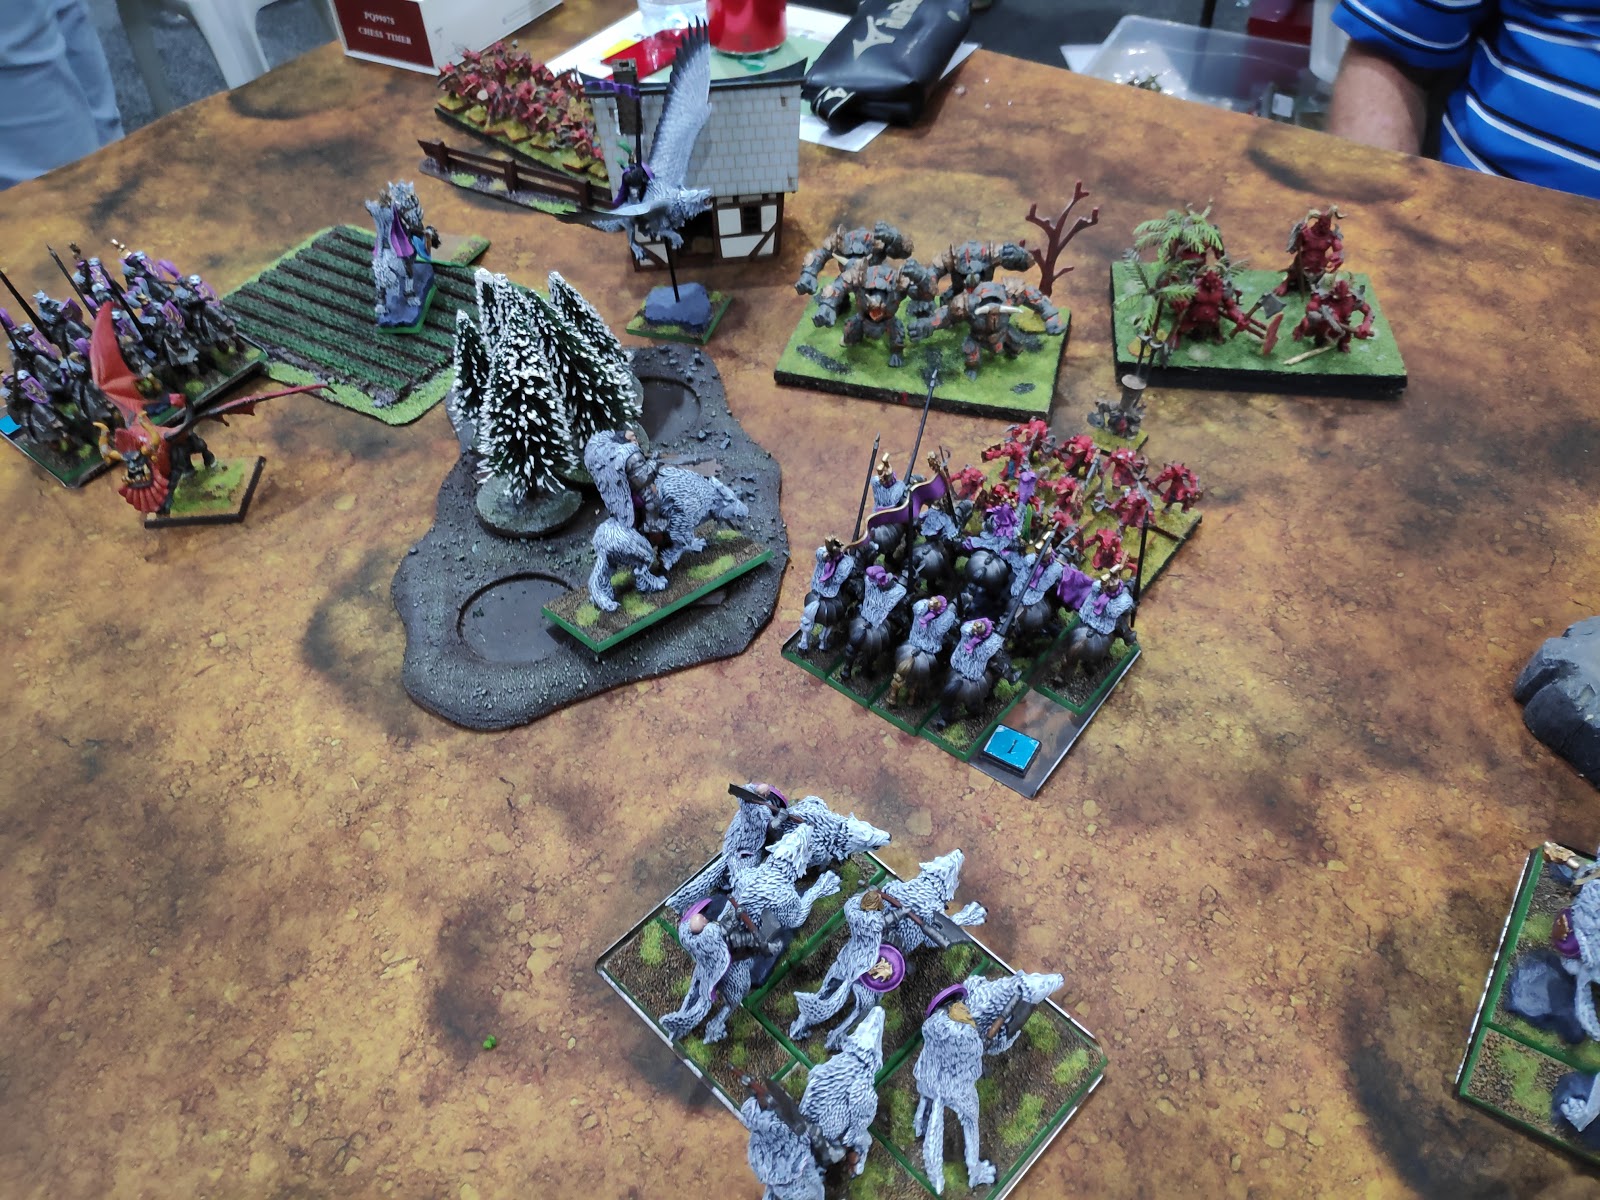
The units on the flank pivoted in through the forest, deploying a cold bottle of water to shield them from prying eyes. A Warlock wandered out in the open, with the Molochs sitting well back. Ghouls and another Warlock rushed up onto the hill in the centre, to sit right in front of my Honour Guard.
Ghouls also moved up to block the Knight regiment next to the forest, with the Hexcaster tucked in behind them.

The Ghoul horde didn't want to invite a flank charge and was content to sit back. The Manifestation of Ba'el decided it didn't want to face what was heading toward it, and left the horde to its fate. A few firebolts and fireballs were thrown about, invariably targeting the Knights, which lack Iron Resolve to reduce the impact of that sort of peck damage. The number of wounds inflicted was pretty modest.

My turn was probably going to be the deciding point of how the battle would go. My birb saw the flank of the Warlock and given it was an opportunity to reduce the number of units and amount of shooting, I went for it. Honestly, I don't know what I was thinking. The trap had probably been set for the Knights, but how was the birb going to get out of it?

For their part, the Knights backed straight up to get out of range of the Golems. The Fiend was still in range, but I figured we could handle a hindered charge from it.

The Honour Guard had little choice but to charge the Ghouls right in front of them.
Likewise the Knights. However, I figured for some reason that the Knights wouldn't need help, and decided to keep the Honour Guard out of the inevitable wave of counter-charges I would be receiving. I moved the Mammoth up into the trees into an advantageous position, and only then did I realise what I had done. The Manifestation of Ba'el could just see the flank of the Honour Guard. I admit, I was really cross with myself. I would have been better off charging with them alongside the Knights. Failing that, if I had spotted it about 10 seconds earlier, I probably could have bought their safety with the Mammoth blocking line of sight. I felt like such an idiot.

I did my best to alter my plans to try to salvage the situation. The Knights turned about and got ready to look at where the Manifestation was likely to go, and the Baron moved up to shield them from the Ghouls (he has a base in front of him, revealing his true, unbalanced location). The birb flew across to threaten flanks all over the place.

On the other flank the other birb had indeed dealt with the Warlock. And then he had to decide which way to face. There was no good answer. I decided a hindered flank from the Fiend was better than a flank from the Molochs, and the Knights would likely get a clear charge at the Fiend if he went for it. Basically the birb had been reduced to bait.

The Ghouls on the hill routed against the Honour Guard, who pivoted a bit to see everything going on over on the left. This was yet another mistake. I didn't realise it, but I had managed to sit within charge range of both Moloch units. I had thought the ones on the right would be out of range, but I didn't check. If I had simply backed up, would they have been out of range? Almost certainly.

I had also been wrong when I assumed the Knights could break through the Ghoul regiment on their own. This was really down to my rolling, but might be a blessing in disguise. Ghouls were awful fighters, and were now potentially in the way.

So Jeff surprised me a bit on the right by not charging the Fiend into the birb. He elected for a hindered frontal charge on the Knights instead, whilst the Golems resumed their advance up the flank (and toward my unit's flank).

In fact, nothing charged the birb thanks to him realising that the Molochs could double-team the Honour Guard. It also meant the birb was now facing completely the wrong direction. Basically I was having circles run around me.

As had been belatedly foreseen, the Manifestation of Ba'el manifested itself in the flank of the Honour Guard. To add to my unit's misery, the Warlock charged down the hill into their front, cackling about Thunderous Charge bonuses. Such fiendish plans!

It also became clear at this point that the Knights couldn't see the butt of Ba'el, even if the Honour Guard held. The angles were just not quite right thanks to the forest. If I had been keen I could have tried to work that out i my turn, but they had really turned as much as they could, so I had just been hoping for the best (and kind of expecting the Honour Guard not to be there anymore anyway).

Apparently the Ghouls felt they had my Knight unit under control on their own, because the Golems ignored them and went for the Mammoth instead. I guess knocking off Thunderous 2 is pretty relevant when you're protected by Defence 6+.

The Ghoul horde decided they had the Baron's number, and graciously accepted my invitation of a hindered charge.

Unsurprisingly, the Honour Guard in the centre didn't hold. Actually the way Jeff rolled, I'm not sure they would have survived fighting just one unit. Anyway, it was very bad, and now the Molochs reformed to look for a new target.

The other Honour Guard unit actually did survive the round of combat. For all his mad cackling about Thunderous Charge, the hill-charging Warlock rolled like a complete potato and didn't land a hit. The Manifestation of Ba-el did his best to compensate for this however, bringing the unit to 11 wounds and wavering it. This was after the Hexcaster cast Weakness on them, as well. So I'd still have the unit in my next turn and could shake off the waver result with Indomitable Will, but it wasn't going to do me much good. Hindered as they were, the Golems did limited damage to the Mammoth (maybe 4 wounds). The Ghouls just managed to inflict a single wound on the Knights, which ensured they wouldn't suddenly fire up with Thunderous Charge again.

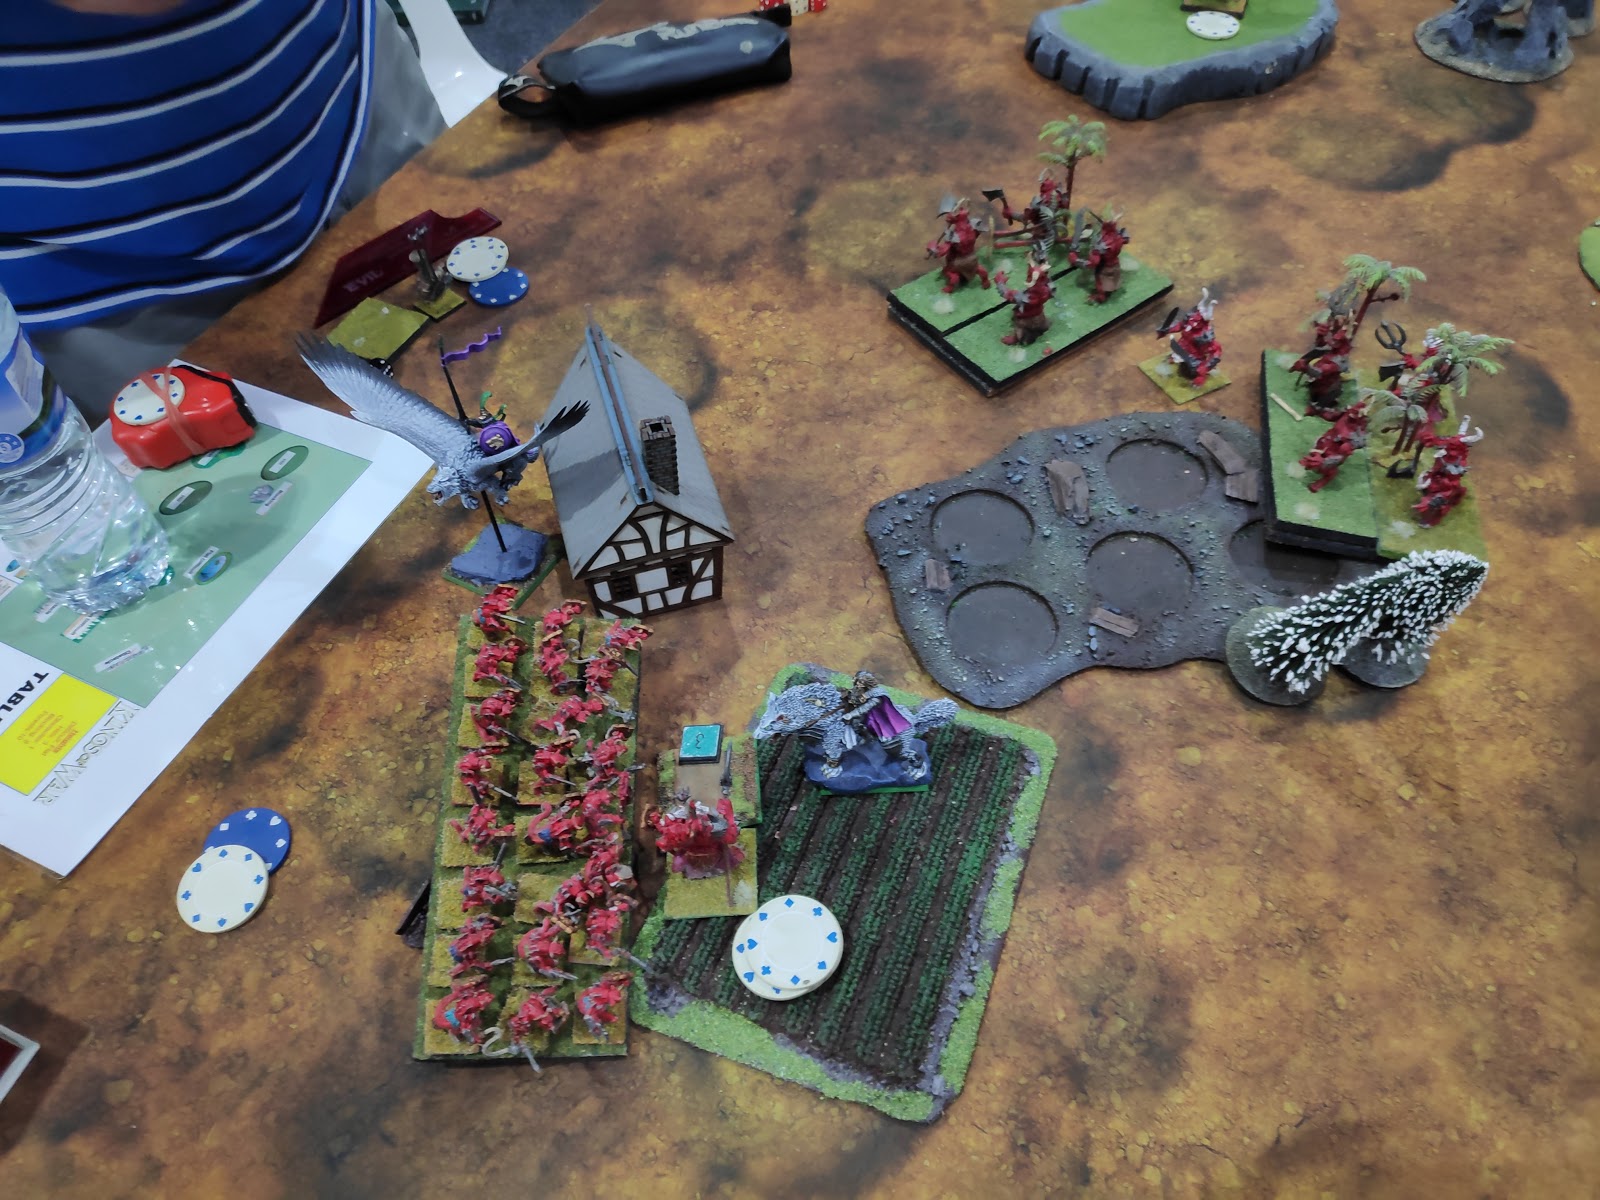
The Baron took a few wounds, but did his job and held his ground. That veggie patch would not be so easily taken away from him! At least the Knights could see something in the forest now...

Over on the right, the Fiend pushed the Knights up to 4 wounds and then managed to waver them. That's OK, they had Headstrong. They would have options.

In my turn, I saw my best opportunity. I hit the Golems in the flank with both the Knights and birb, whilst the Mammoth counter-charged from the front. If I could remove them in a turn, I might be able to regain some control. Jeff was of the opinion that the Knights should have spun and hit the other flank rather than trying to finish off the Ghouls. Might have been more tempting if they still had Thunderous Charge. But honestly, even with the flanking units hindered, I figured I could handle them with what I had there.

I decided the Honour Guard were not going to achieve much against the Manifestation without any Thunderous or Crushing Strength, so instead I tried my luck against the Warlock. If I could get rid of him, I'd reduce the number of units I was trying to deal with.

The Knights did indeed pass their Headstrong check. I then checked to see if I could buy another turn away from the Golems by backing up again. I think if I'd had another millimetre or two, I could have gotten away. As it was, they were going to be in range. I gave up and just counter-charged the Fiend instead.

The Baron decided to counter-charge the Ghouls, now that he was no longer hindered. It would mean they wouldn't be hindered either, but I had delusions of winning this battle of attrition thanks to Iron Resolve. And desperation.

The Knights removed the Ghouls on the second attempt and turned to face the approaching Molochs. The Honour Guard failed in their bid to bite the face off the Warlock, but that was expected. What was less expected was my failure to move the Golems. Yes, I was hindered. But it was a lot of attacks. The situation was not helped by the birb, who with 14 attacks on 4+ to hit and wound, did not a single point of damage. In my moment of need. You utter clown shoes.

The other birb had swung around to menace the rear of the Molochs, whilst the Knights did cosmetic damage to the Fiend in what was likely to be their final act of defiance.

Goodbye, sir knights.

This time the Molochs decided to share the love and charge different units. Or you could intepret this as them not rating either of my units as a threat anymore.

I was left to question more of my life choices as the Manifestation shot over the Honour Guard and engaged what was going to be my rear-charging birb. If I had counter-charged it instead of the Warlock, I could have prevented this. Or if I had not flown quite so close.

The Golems decided to stick to their task and counter-charge the Mammoth. The Hexcaster continued to make a nuisance of himself, this time weakening my birb. Because you know, he was clearly such a threat after last turn...

The struggle between the Baron and the Ghouls was ongoing, although there was also a Warlock lurking in the wings.

The Knights on the right were no match for a horde of Golems in the flank, and collapsed. I think if they had been able to buy one more turn, it would have felt like they had done a job. They just couldn't quite backpedal fast enough.

The Molochs were not messing about. Both the Honour Guard and the Knights routed thanks to their attentions.

In my turn (which I apparently missed with the camera), I switched things up a little bit. The Mammoth and Knights went into the Golems again and removed them, but the birb darted out and attacked the Hexcaster. He could quite easily have failed to rout him in a single turn, but this time things worked as planned and I was able to reform.

Nothing much had changed in the eternal struggle over on the left. My flank was still secure-ish.

Having beaten up my Knights, the Golems were now on a mission to pick on the Halflings, who had been hoping to escape their notice by acting like a dead pile. Now that they had been spotted, they pulled out their bows and shot a single wound off their would-be assailants. The game was afoot!

Free from the Knights, the Fiend had been able to reform and now charge the flank of my birb. I really was paying the price for not pinning the Manifestation in place with the Honour Guard when I had the chance.

In a clear violation of the rules of engagement, the Warlock joined the fight by flanking the Baron. We were locked in an honourable duel, and he had to go and ruin it for everyone. Dishonour!

Of course, the Baron wasn't the only one having problems. In fact, that birb up the back was the only one who wasn't. One Moloch horde for each of my units. Note the cunning placement of the Warlock in the middle, in order to give the unit fighting the Knights an unhindered charge.

Both Moloch charges were successful (honestly, they never looked like messing up in a single combat all game - they were really solid), but the true hero of our tale, the Baron, bravely fought on alone.
Realising that everyone else was dead and he would get no opportunities for a good charge, the remaining birb moved around the house in a vain effort to help the Baron in his struggles.

Problem was, there were other factors at play. Before he got the chance to intervene, the Molochs arrived. In the rear. Double dishonour. Very badness. Much sadness. No more Baron.

Aha, finally a combat I could win! (I didn't win).

With only the birb remaining and any doomed attempt at stealing points likely to result in his demise, he took evasive action and went looking for table segments he might contest. Unfortunately I had done so little damage that Jeff was able to cover everything. The birb survived, but was unable to contribute further.
So despite my good intentions coming into this game, I was ill-prepared. I could feel my lack of practice compared to my opponent, and despite knowing that everything he did would be well-considered, I failed to apply myself in the same way. I made at least 4 mistakes that are apparent in this report (letting the Honour Guard get flanked, letting the other unit get double-teamed, stranding the birb on the right so early, and letting the Manifestion fly over and pin him later). In doing this, I didn't really force Jeff to make the play. He was just able to capitalise on what I was doing. I would have liked to give him more of a challenge.
So a weak finish to the event, and I plummeted back into obscurity as a result. I propelled Jeff into 2nd place overall, and I wound up 18th. After the event, the group of us who had travelled up to play in the Clash of Kings event came to the conclusion that we really should make more of an effort to practice and prepare properly before future tournaments. We'll see if this plan eventuates.
Result: 1-20
Well, that concludes my Cancon report for another year. Thanks to Matt for all his efforts in running a great event yet again, thanks to all my opponents, and thank you for reading this nonsense!
Until next time!
Thank you for photographing, processing and writing this series up for us. You seemed to do quite a bit better this year than previous KOW adventures, up and including that uncomfortable rise to the top and eventual swatting back down the standings. Dunno if that was the edition or the army build, or maybe you're getting the hang of this thing ;) I definitely saw more patience and careful positioning than in previous reports. I say as a player who has little patience and even less positioning care ...
ReplyDeleteAgreed on the final takeaways - I've got my first 3E GT in less than two weeks, and feel almost entirely out of practice with the game as a whole, let alone this edition. Ah well, that's what booze is for.