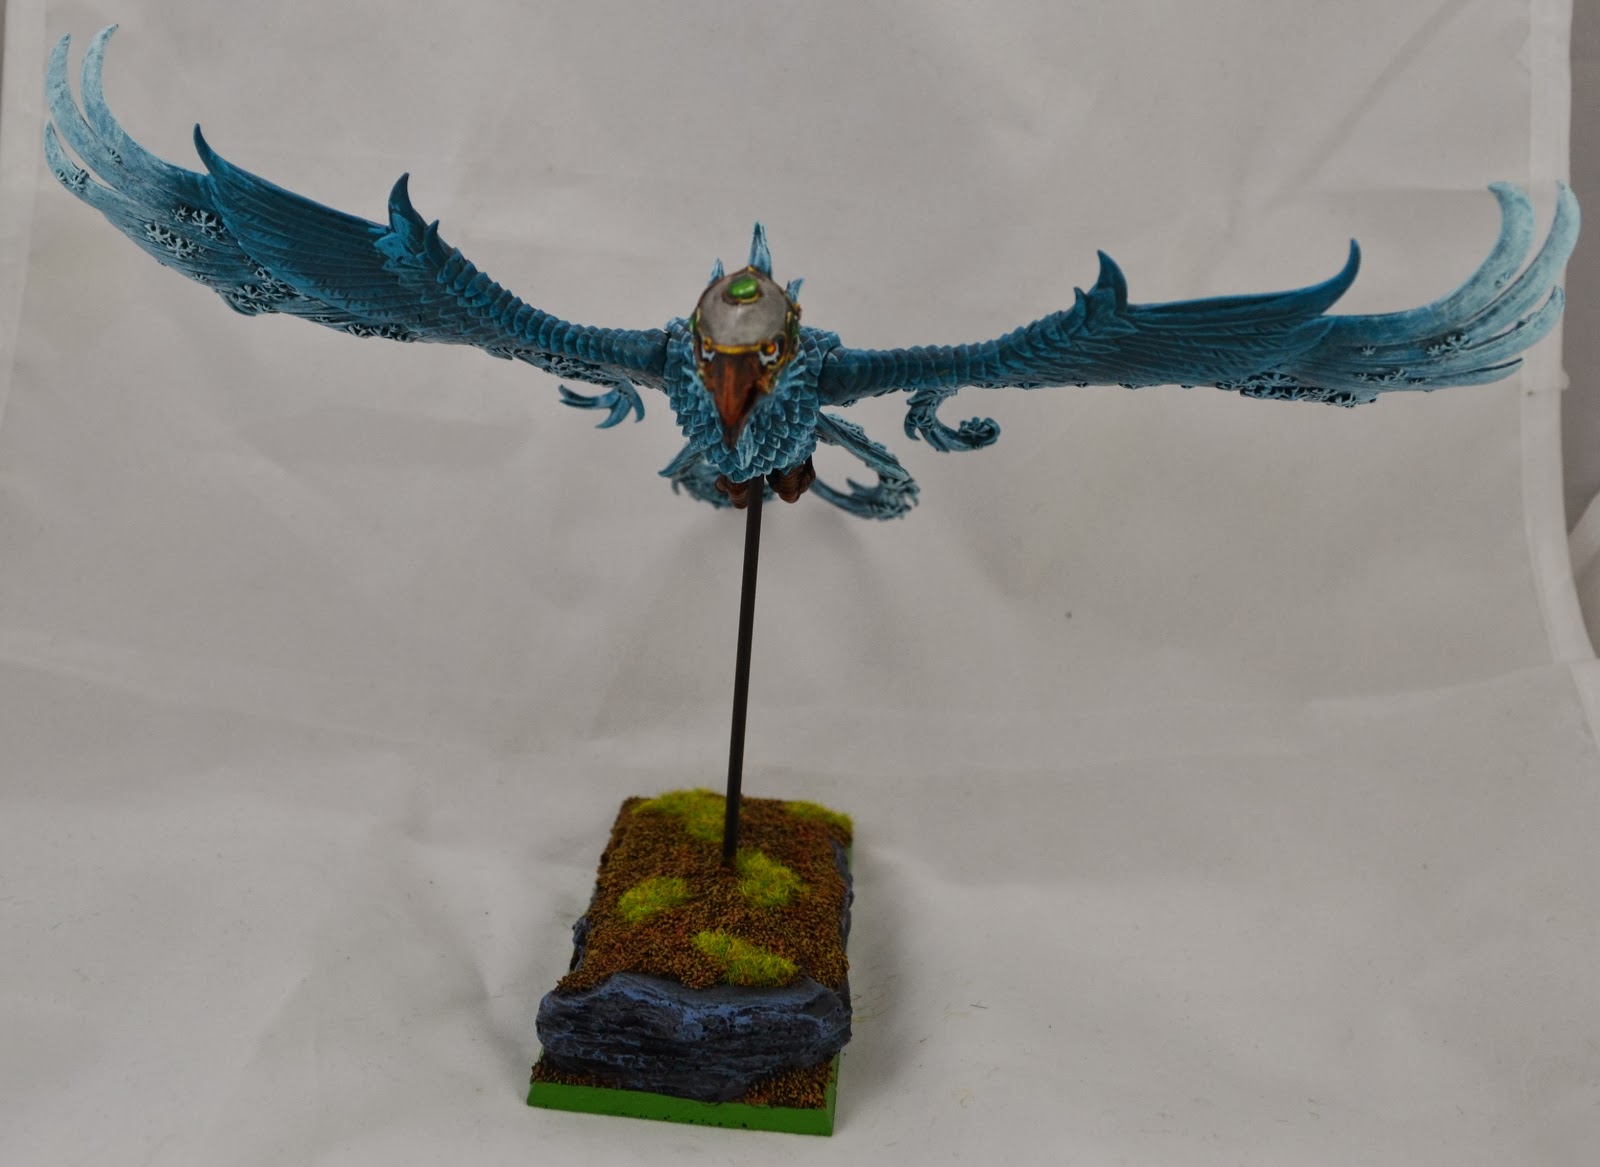
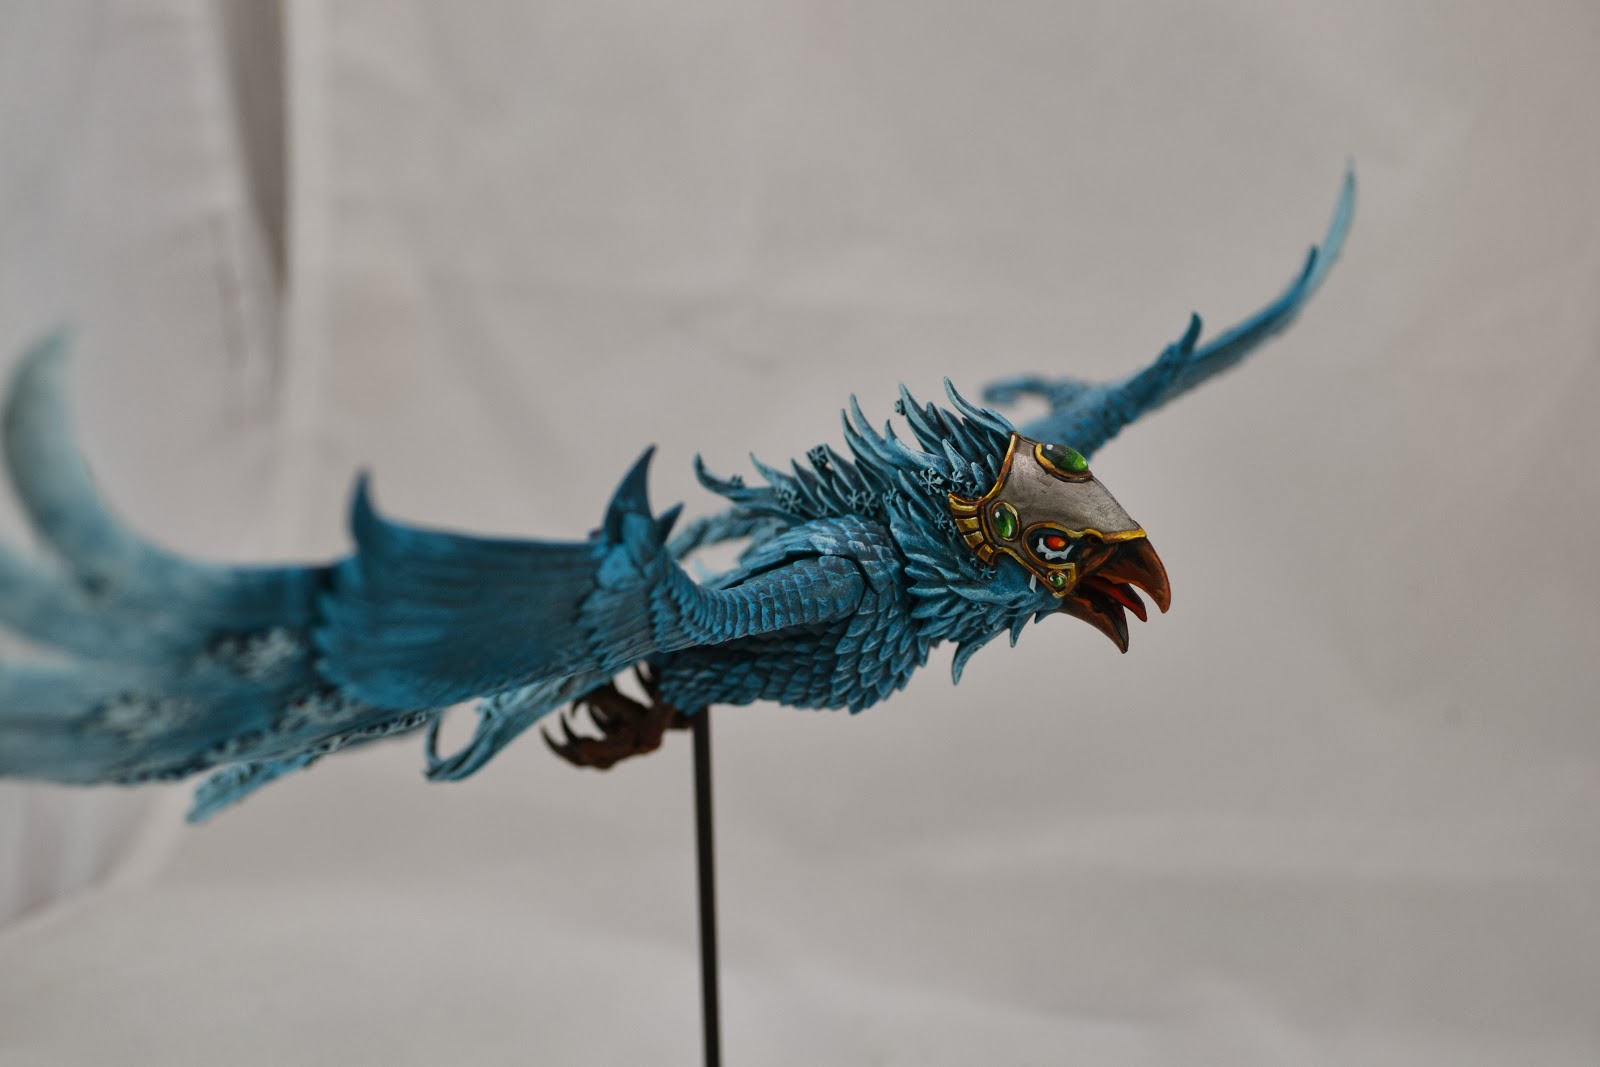
I figured I should start with one of the most significant (broken?) additions to the High Elf army - Frostheart Phoenixes. I was given an additional shove by someone wanting to borrow them for an upcoming tournament, which helped me get around to actually doing them. As usual my focus was more on getting them done than making them a work of art, so there was a fair bit of drybrushing involved. On the bright side, it meant they got done very quickly...
 |
| Double the filth! 2 Frostheart Phoenixes, each with a different head. |
 |
| This one scored a hat. In both cases I decided to use a brass rod to hold the model aloft, and bore it into a nice heavy resin base. Should help them be pretty stable. |
 |
| This one was basically painted with variations of the old Hawk Turquoise up to white. |
 |
| A bit of a look at the belly of the beast. |
 |
| The heads and claws were about the only bits that were not just done with drybrushing. |
 |
| No hat for this guy. Sucks to be him. |
 |
| Both of them look like this under the backplate. |


nice. looking good
ReplyDeleteBoth look great, but I really like the turquoise one.
ReplyDeleteThey both look very nice, good job!
ReplyDeleteThanks guys. Happy enough with them given how quickly they came together.
ReplyDeleteNice work. They both look great, but I am a bit partial to the blue one. I am interested to see how the brass rod works out for you. I went with the plastic flying stand, but I am a bit worried that it's going to snap. I might have to go this route instead.
ReplyDeleteThe way I've done it feels like it's going to work pretty well. Obviously the stand itself won't break. The thick, heavy resin bases gave me plenty of material to drill into, so the stand shouldn't come out easily and the weight means the models are really very stable - far more so than if they were just on the plastic bases they came with.
DeleteBiggest question mark will be at the Phoenix end. I drilled up through the existing hole, but given the model is hollow, I don't know how much more grab that will give it. I then filled in the existing (larger) hole around the rod with green stuff. At the moment it feels like it grabs the stand very well, but it might loosen or get damaged over time. For now I am happy, anyway.